
Dungeon 1

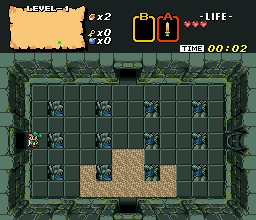 |
When you first enter the dungeon, you'll notice you have two choices of direction to take. Decisions, decisions. Go left. |
| Fight your way to the left until you can kill a Stalfos bearing a Key (you also should have picked up a Compass along the way, which indicates the location of the Triforce Piece on the map). You can go left one more room to talk to the Old Man, or just head back to the first room in the dungeon. | 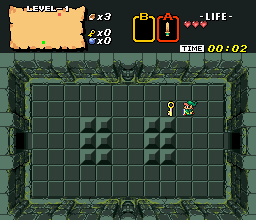 |
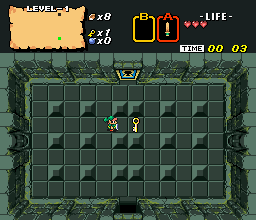 |
When you arrive back in the first room, head up. You'll be in a room filled with Ropes. Kill off all of them to reveal another Key. |
| Keep going up until you reach this room with the Map. Pick up the Map, kill all the room's enemies and go left. | 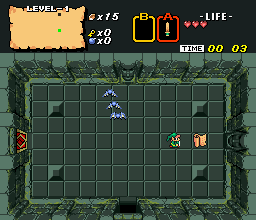 |
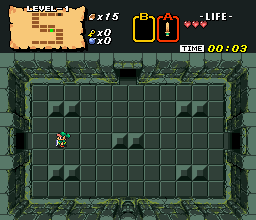 |
Another fork in the path... again, you'll want to go to the left first. |
| Be very wary of the Floor Traps in this room, as one hit from them will knock off a full third of your life. Just step in their path, quickly step back and cross when they're resetting. To reach this staircase, you'll have to push the indicated block out of your way. | 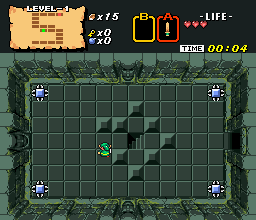 |
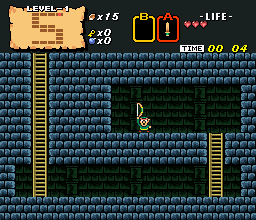 |
What lies beneath? Why, a Bow of course! Unfortunately, the Bow is useless without Arrows, so you won't be able to use it just yet. But it's still nice to have, right? |
| Go back to the fork in the road, but this time head up. When you reach these Goriyas, be careful, as they're the toughest enemy you've fought up to this point. You can block their Boomerangs with their shield, and then counter with your sword if you feel like fighting them. Pick up the Key and go left. | 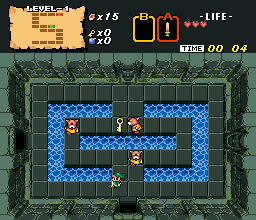 |
 |
When you reach this room, the doors remain shut even after defeating the Gels. The trick to getting them to open is pushing this block. |
| You probably noticed by now that this dungeon is very straightforward. When you make it to this room, you're only one room from the boss's room. Be careful as you walk along the wall, touching a Wall Master will send you all the way back to the beginning of the Dungeon. | 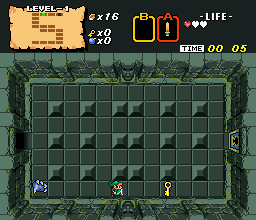 |
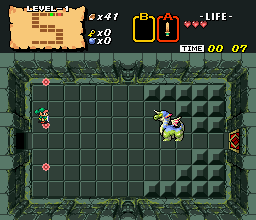 |
It's Aquamentus, the result of an unholy union between a Unicorn and a Dragon. If you have full health, just stand in the spot indicated and Aquamentus' projectiles won't be able to hit you, allowing you to easily sword-beam it to death. If not, Aquamentus is still easy. Bombs are also useful if you have any. 6 sword attacks or two bombs (or one bomb and two sword attacks) will finish the job. |
| After each boss you defeat, you'll win a Heart Container. Rejoice! | 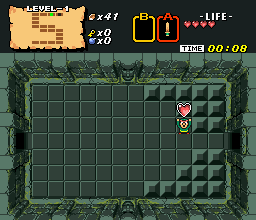 |
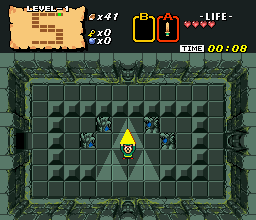 |
Rejoice, your first Triforce Piece! Watch as you life magically is refilled and you are transported out of the dungeon automatically. |