
 |
|
|
Walkthrough
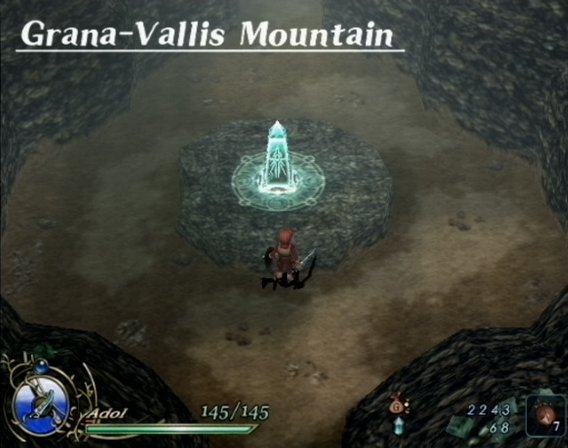
| Grana-Vallis Mountain | |
 |
Whether or not you've completed our little side-trip, head north through the Canaan Plains to reach Grana-Vallis Mountain. You'll recognize the terrain changing as you approach. |
| First thing you'll see is a Spirit Monument. Take advantage of the moment and heal up, and, if you so choose, save your game. |
 |
 |
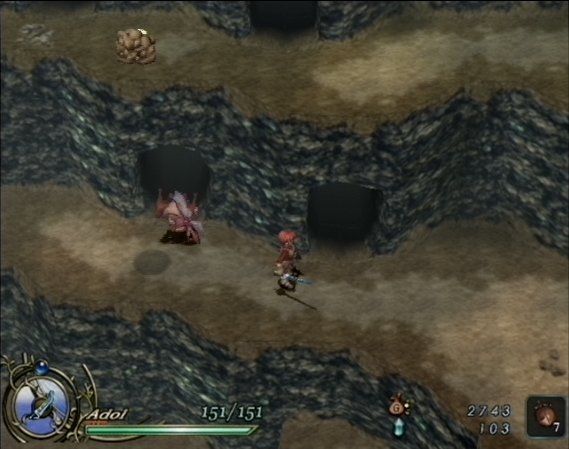
The cave starts out with these guys, known as Pyrus. They'll try to rush you, which can do some significant damage (compared to other enemies you've met). A good approach is to get them in a corner and use your downward thrust to eliminate many of them at once. |
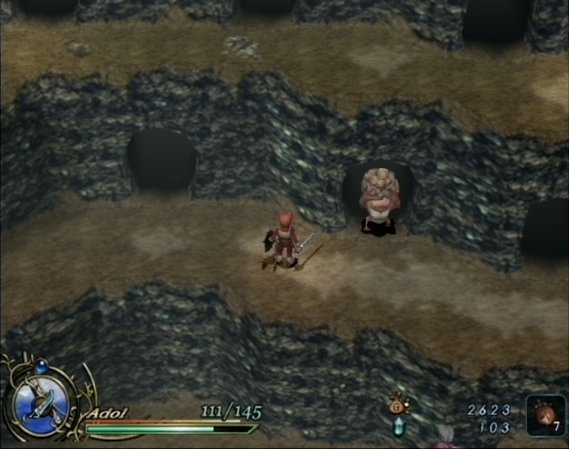
| These guys, believe it or not, are called Dumheads. They're not very dangerous, and can be easily dispatched, but they do throw exploding rocks called Bundaghar. Bundaghar can cause a bit of damage if they explode near Adol, but also provide a good amount of experience for this part of the game. If your timing is good, you can wait for a Dumhead to throw a Bundaghar at you, move out of the way, and strike the Bundaghar before it explodes. This is a pretty good way to level up this early in the game. You should be able to pretty easily reach level 20 or so using this method. |
 |
 |
Move up past the Dumheads, dispatching them along the way. In the top right corner of the room is a path that leads to a chest. Inside is an Herb. Take it. |
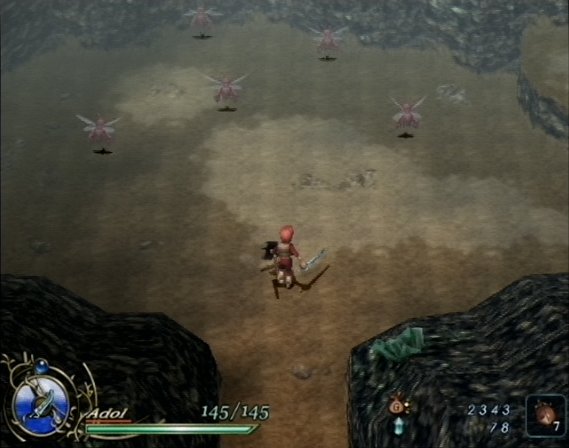
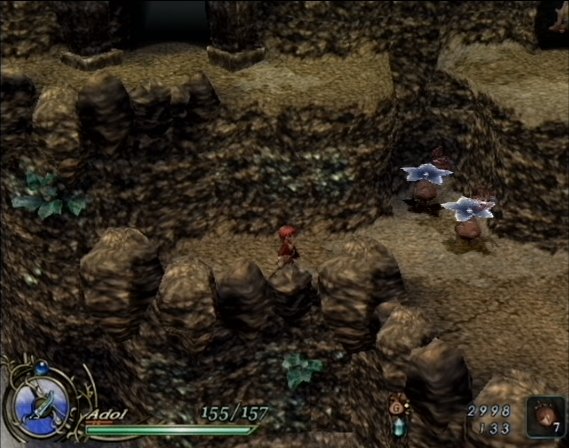
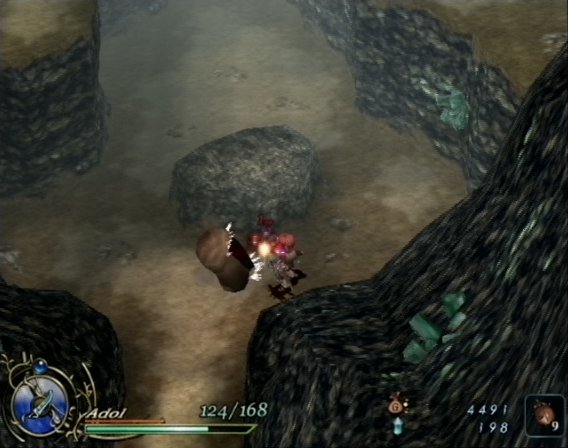
| Head down from where you obtained the Herb, and then head to the bottom right hand corner of the room with the Pyrus and the Dumheads. You'll find another exit to the room pictured here. The enemies pictured are called Klimsaw, and they are impervious to all attacks as long as the star-shaped flower is still on their head. As soon as you notice the flower spinning, you can attack. If you wait until after the Klimsaw launches its flower portion at you, you must remember to avoid them as they come back, even after the Klimsaw is defeated. |
 |
 |
Head east (across a bridge) until you come across two exits, a higher one, and a lower one. Ignore the lower one for now (trust me, you'll go through there later), and head for the upper door. |
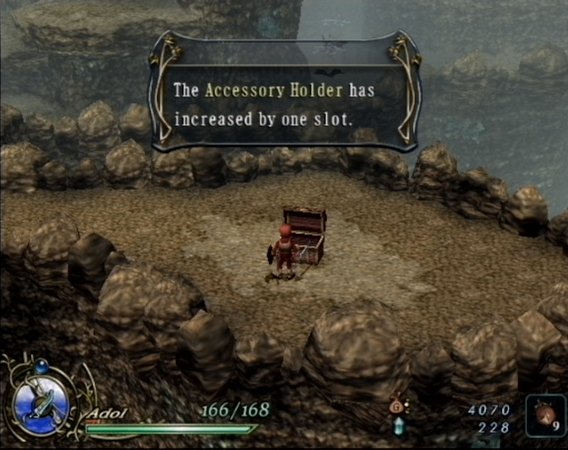
| You'll cross through a very straight-forward and uneventful indoor room before you reach this next outdoor area. Halfway through the area, you'll notice the camera adjust drastically. Head toward the camera to reach this chest containing an Accessory Holder. This means that you can now equip more than one accessory! Now you just have to find a second accessory... |
 |
 |
Moving up the mountain, beware of this Ato (flying enemy). When an Ato approaches without carrying another enemy, it's objective is to steal your hard earned Emel. Occasionally you'll see a purple variant of this monster (Ulmto) who can steal your gold instead of your Emel. Beware of both. |
| After crossing through another room (and, thankfully, encountering another Spirit Monument), you'll encounter these creatures, known as Dormen (that happen to look like Digletts from Pok�mon). They burrow themselves underground where a normal sword stroke is ineffective. Use your downward thrust to eliminate this enemies quickly. |
 |
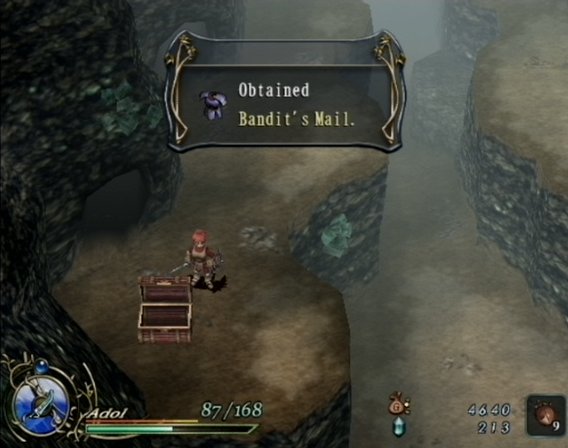 |
Use the step near the top part of the room to jump onto the right ledge. Take out the Dumheads, and then jump across to the left ledge where more Dumheads await. After eliminating them (or before, if you choose), open this chest to obtain the Bandit's Mail. This should be the best armor you have so far (that you can equip without penalty), so go ahead and equip it. |
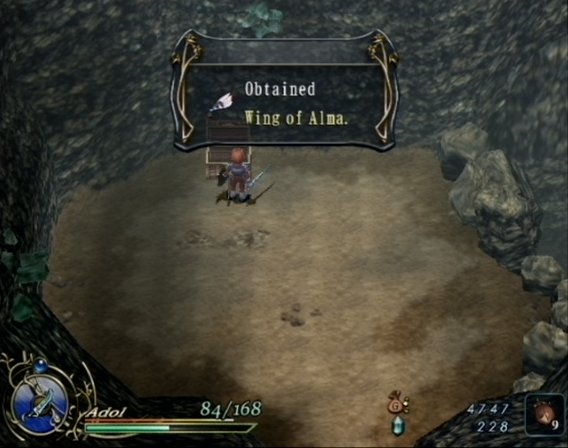
| Move north into the next area, and then (after dispatching some Dormen) north again. You'll find yourself surrounded by Bundaghar. This is both good and bad news. If you take them out quickly, that's good experience. If you don't, that's a lot of explosions to worry about. Regardless, move toward the treasure chest to obtain the Wing of Alma, one of the more important items in the game. It serves two purposes: to warp you out of dungeons, and to take you to the Alma Trials. You'll notice that it immediately starts glowing (indicating that there's an Alma trial waiting for you), but I'd wait to hit a Spirit Monument before you go rushing off to that. |
 |
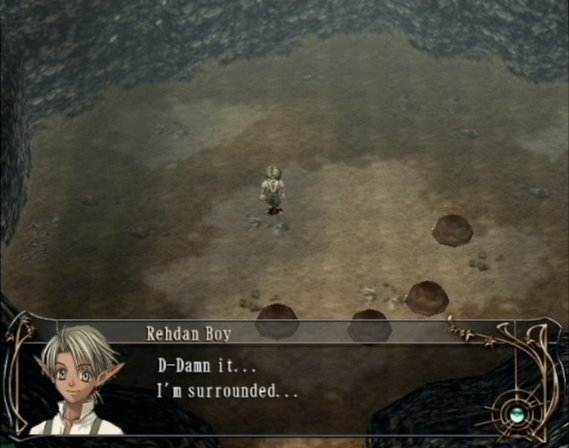 |
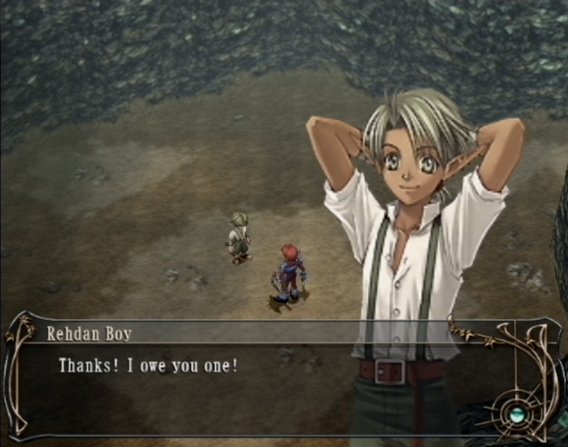
Move south out of the room with the Wing of Alma and then west. You'll come across a Rehdan boy being attacked by Dormen. He seems confident at first, and then asks for assistance. If you have problems with this fight, you may need to re-evaluate your choice in gaming. |
| The Rehdan boy was none other than Chief Ord's son Ur. Apparantly male Rehdans in the family of the priestess are only allowed one syllable. Anyway, you've saved the kid, so you can leave... except... Ur happens to mention a nice pretty sword at the summit of the mountain. You're interested in that, right? You'd better be, because the game doesn't progress until you go after it. |
 |
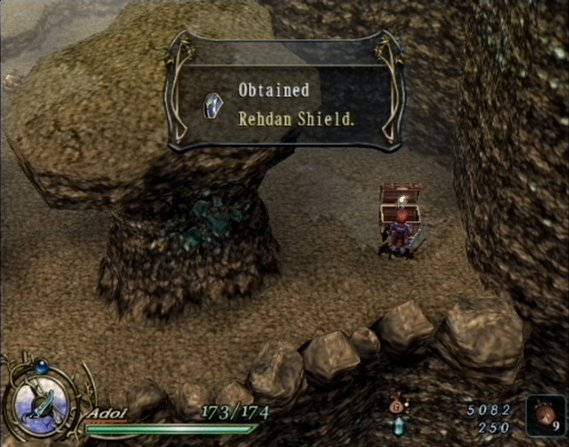 |
Move on to the next outdoor area of the mountain, and move to the far right, avoiding the obvious platforms you're supposed to jump across, to find the Rehdan Shield. If you took our little side-quest, you have no use for this, but you might as well have it anyway. |
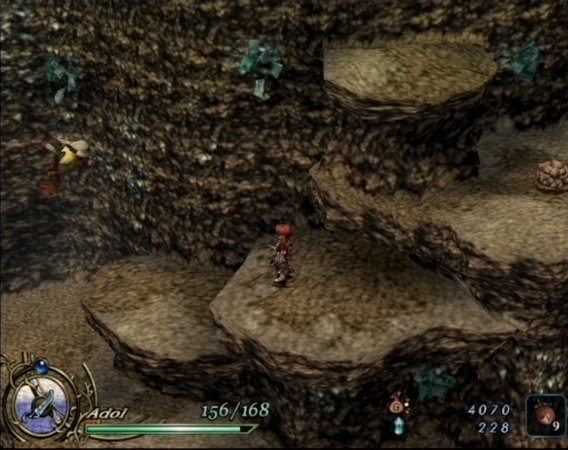
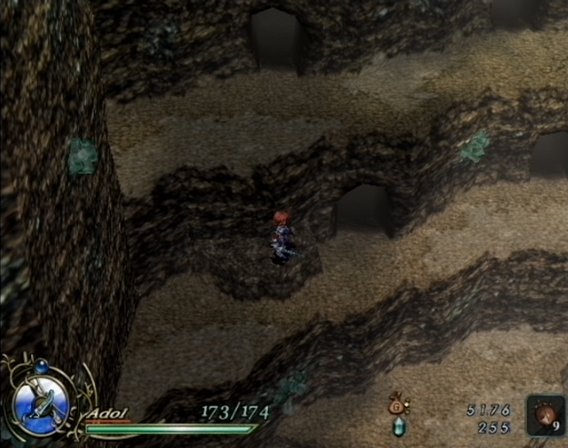
| Move back up to those platforms, and head north to find five levels of Dumheads. Move up these levels by looking for little platforms to help you climb, like the one pictured. |
 |
 |
Past the Dumheads, you'll come across a room with a large hole on the right side. Jump in the hole to be taken to an area that we couldn't reach before. |
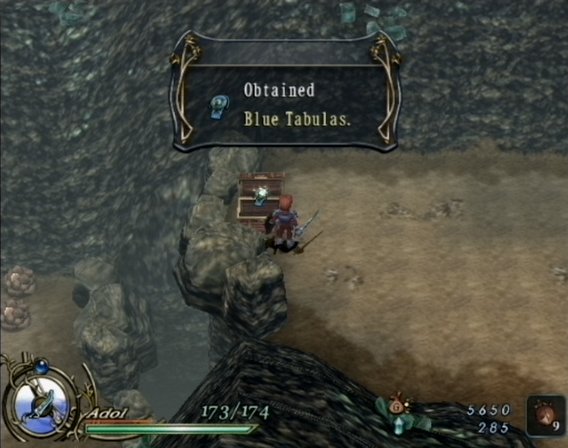
| Defeat the Dormen and open the chest for the Blue Tabulas. This is useless now, but it'll help in getting a nice item later. You're now on the upper ledge of the room where you got the Wing of Alma. |
 |
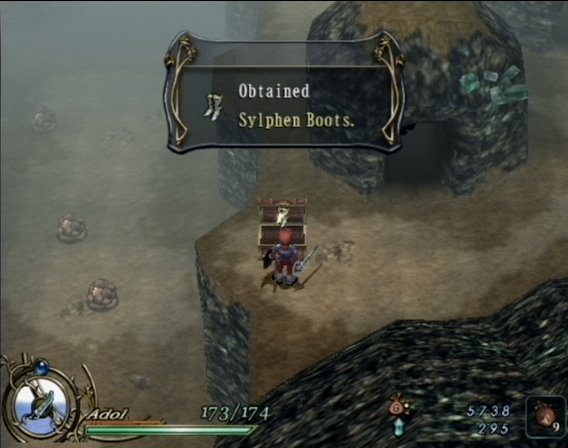 |
Moving south from the area where you picked up the Blue Tabulas, you'll find yourself on the upper ledge of another room that you'd been to before. Open the chest here to find the Sylphen Boots. Go ahead and equip these in your open accessory slot, then jump to the lower ledge and head left to the area where Ur was being attacked by Dormen, and continue back to the room with the hole in it. Continue up this time to reach the summit. |
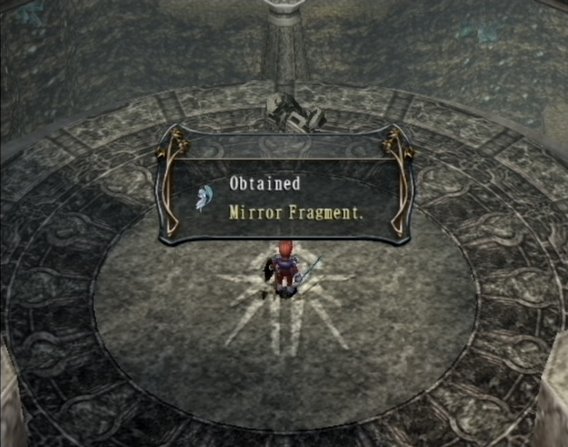
| After passing another Spirit Monument (and, for that matter, a good chance to test your Wing of Alma by going to the Alma Trials), you'll reach the summit. You'll recognize the summit by the lack of monsters and the sudden change in background from mountain to shrine. You'll find a Mirror Fragment on the ground. Pick it up to trigger the event. |
 |
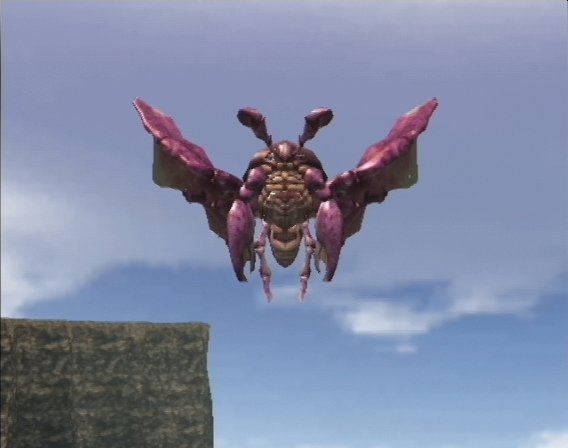 |
Shortly after picking up the Mirror Fragment, you'll meet Jue, a firey little fairy, who summons someone for you to play with. It just so happens that this someone is Zonplas, a flying crab. That's right, a flying crab. Someone in Japan expects you to be intimidated by a flying crab. Okay. Whatever. Take him out (consult the Boss Strategies page if you're stumped) and you'll crash into the ground. |
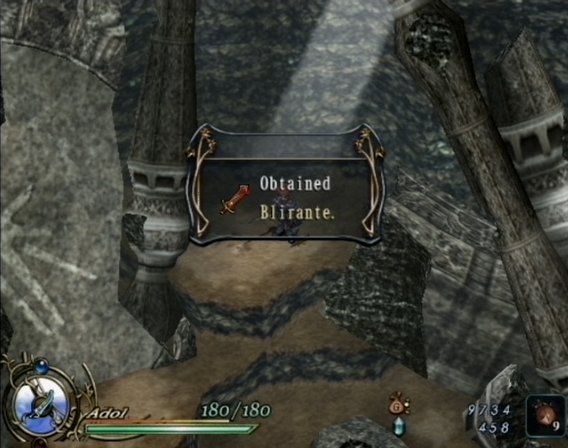
| After a short discussion with Jue (who, like former US Presidential candidate Bob Dole, tends to speak of herself in the third-person), walk to the top of the room you're in to find Blirante, your second sword. Blirante is technically more powerful than Livart, at level 1 it may not impress you very much. Head down to leave through the only door that we never explored earlier. See, I told you we'd hit it eventually. Head left from here to exit the mountain (or simply utilise your Wing of Alma). |
 |
|
|