
 |
|
|
Walkthrough
| Quatera Island | |
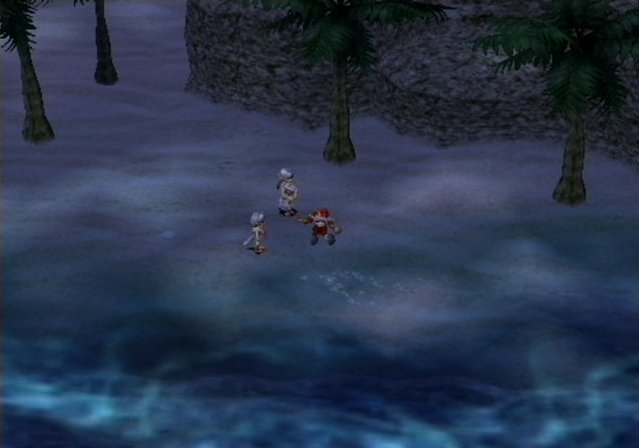 |
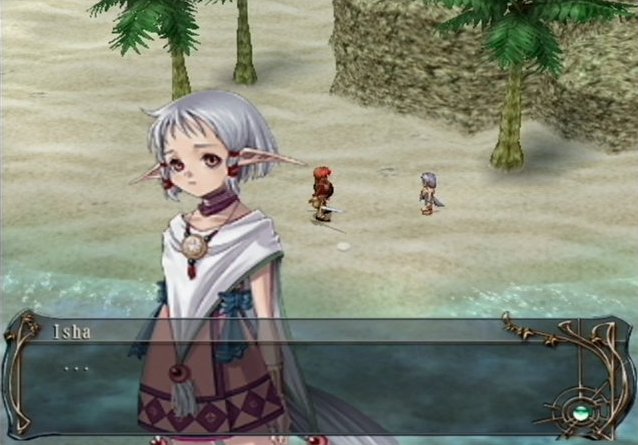
The game starts with a terrible CG animation. With the proper cheat codes, you can replace it with some fairly decent anime. I imagine, though, that you can probably get past that without the help of a walkthrough. So, we start on this beach, where Adol washes up. You're quickly introduced to Olha and Isha before Olha goes for help. Isha sees a terrible vision, and freaks out. |
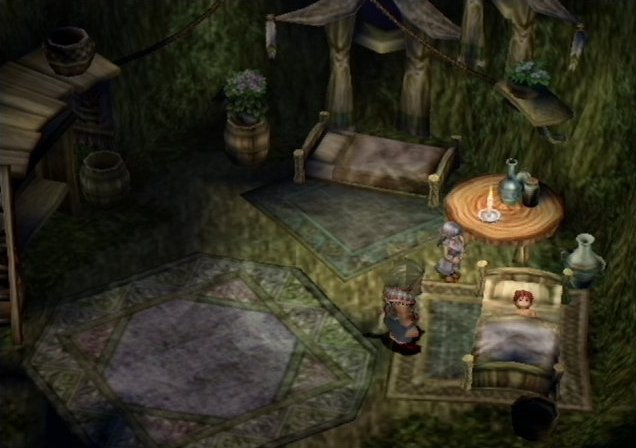
| When you come to, you're in this bedroom in Rehda Village. Apparantly, the girls have been taking care of you with the help of their uncle, Chief Ord. He's not particularly fond of your kind. Eventually, you're free to move around. Congratulations! It's the first time you've been able to move in the entire game! |
 |
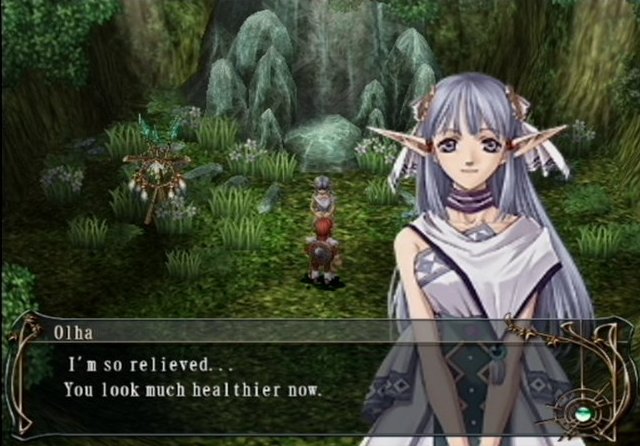 |
After leaving the bedroom, head up and you'll run into Olha in the garden. She's happy to see you're recovering, and offers to give you some information about the locals. If this is your first time playing, take her up on it. She's got some background info on the islands and their inhabitants. |
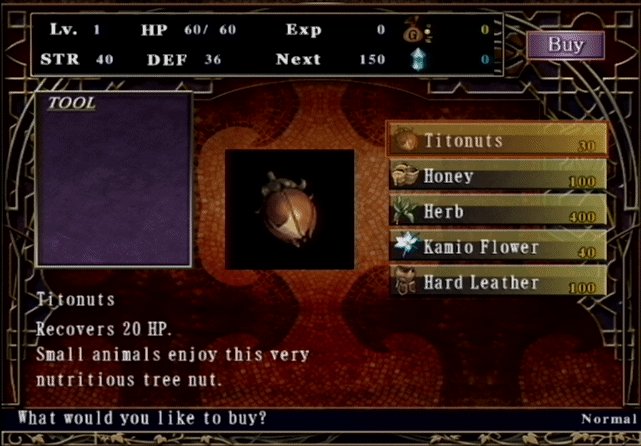
| Feel free to talk to everyone in the village (talk to everyone twice, they all seem to have something extra to say), but make sure you stop by Kevin's shop before you leave. You may not be able to afford anything yet, but remember the cost of that Hard Leather, because you'll want it later. |
 |
 |
After talking to everyone, head south to exit the village. You'll run into Isha, who once again seems afraid of you, and quickly runs away. Follow her out of the village. |
| Now you're on the "overworld" as it were. You finally have a chance to swing your sword around. Take the opportunity to practice some of the basics. Once you're done clowning around, notice the large glowing crystal sticking out of the ground. This is a "Spirit Monument," or a save spot. Use it if you want to. |
 |
 |
You immediately hit a fork the second you leave the village. Ignore the path to the right for now, and head left. You'll encounter your first enemy, the quia, a little squirrell looking thing. You'll run into some other enemies in the area as well. Try to kill as many as you can, because you level up pretty quickly, and levels are definitely noticable. Head south at the first opportunity to come across a beach called Moonlit Shore. There are some kids playing here, but that's not important. To the southwest is a path underwater, but Adol apparantly can't hold his breath. You'll have to come back later. |
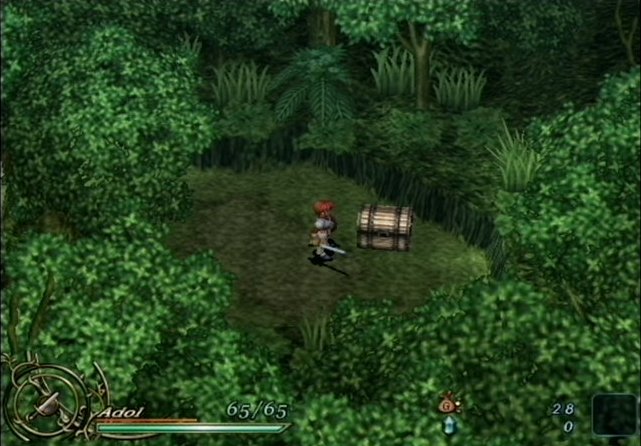
| Leave the beach area and continue along this map. You'll come across a few Refua (flower monsters), so watch out for their poison breath. Head to the northeastern section of this map. Here, along a somewhat hidden path behind two Refua, you'll come across a chest. It contains an Herb. That'll be helpful later. |
 |
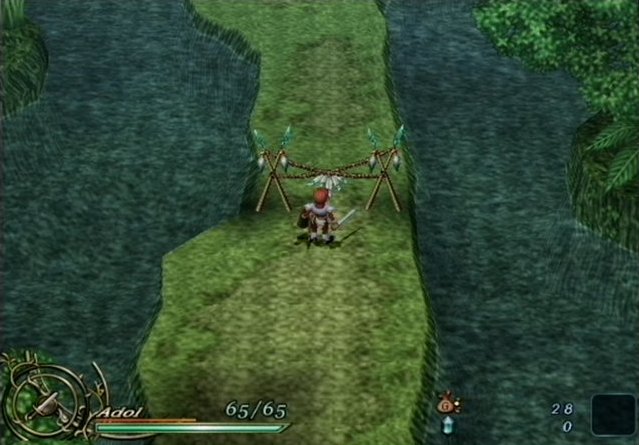 |
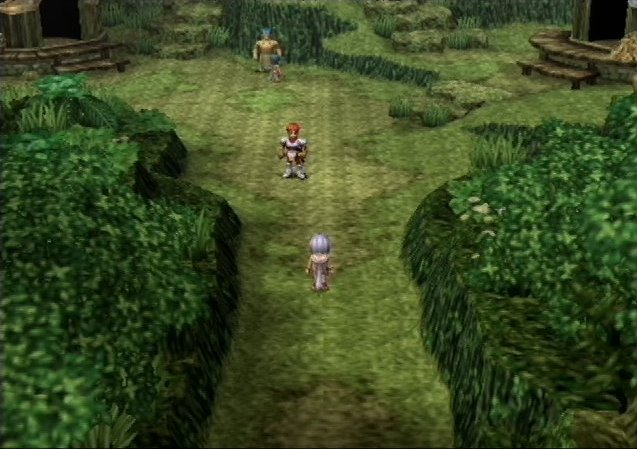
Going northwest, you'll enter a new screen. Nothing real big here, though you come across some Adamus (the flying things). However, if you go to the northwest of this map, you'll come across the fence shown in this picture. DO NOT JUMP OVER IT! On the other side is monsters that you definitely can't fight yet! Your attacks will do 0 damage to them, and they'll wipe you out in one or two hits! Instead, backtrack to the village, and take the eastern path. |
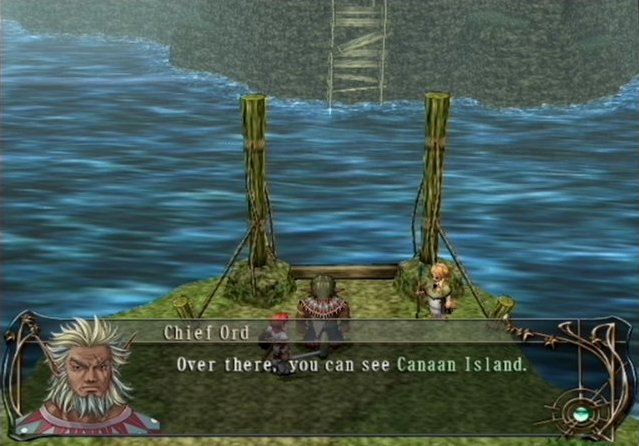
| Head east from the village, and you'll come across another fork. You can either head east-northeast, or east-southeast. Take the northern path, and you'll come across Chief Ord and some of his men, looking at the downed bridge. One of the men elude to the fact that someone important to the Chief is on the other side. Double back and take the southeastern path. |
 |
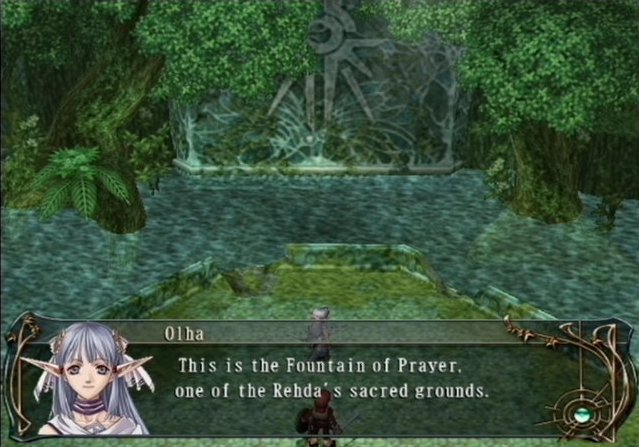 |
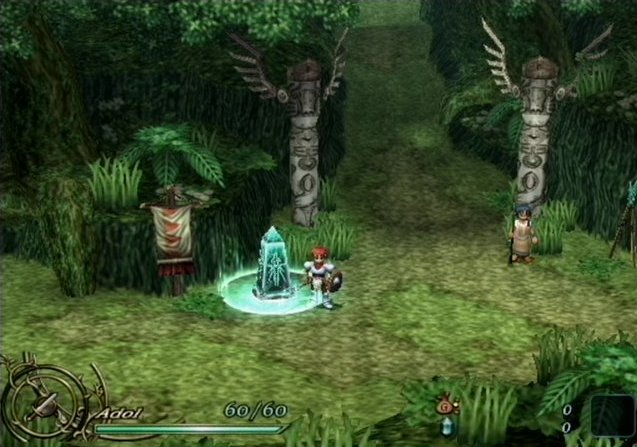
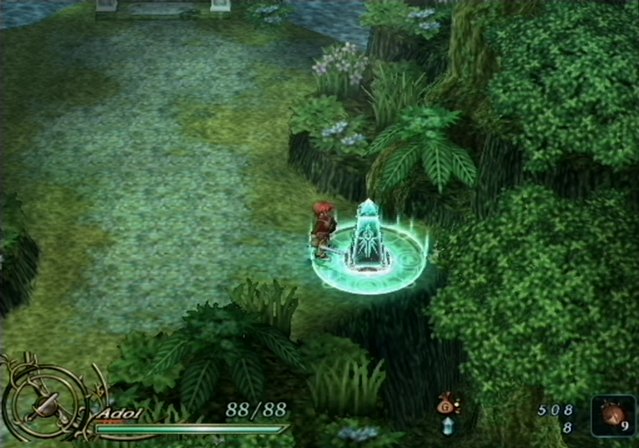
You'll notice a save spot along the way. Use it if you need to. You'll meet Olha at what she calls the "Fountain of Prayer." She mentions that she didn't expect to see you out this far, and that she's looking for her sister. Might as well join the hunt. |
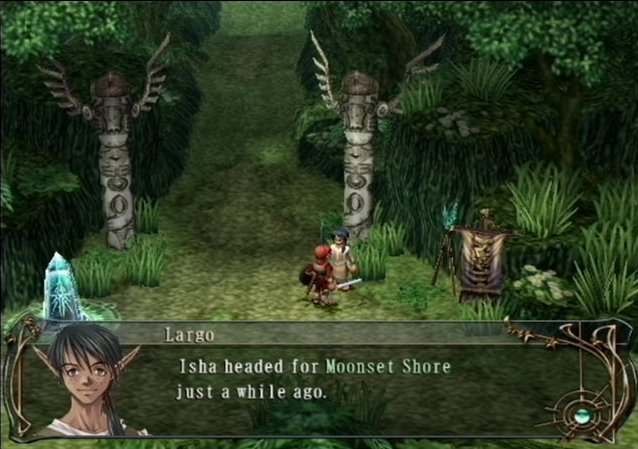
| Largo (the guy standing outside the village) mentions the best clue you could get. He says that Isha went to Moonlit Shore. I guess it's back to the beach for us. |
 |
 |
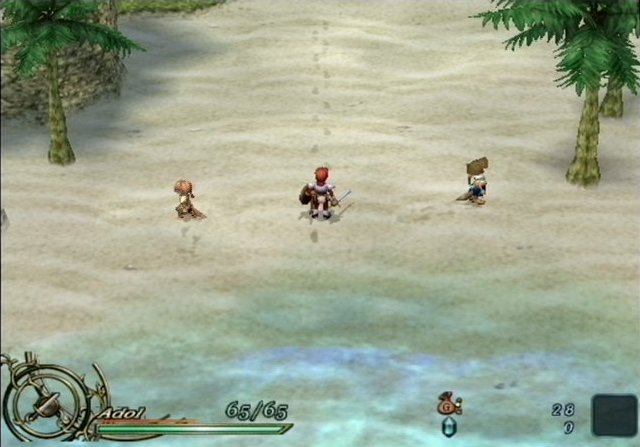
And, of course, you meet Isha at the beach. She's afraid of you once again, but doesn't run off. You inform her that her sister is looking for her, and then she takes the opportunity to disappear. Back to the village. Once there, take the opportunity to talk to people again, and buy that Hard Leather you have your eyes on. Chief Ord mentions that he's impressed with your curiosity, and that you remind him of "that elderly one." Of course, he doesn't come out and tell you who that is. That'd be far to easy. Also, if you haven't already picked up a few Titonuts from enemies, you may want to part with a little more of your money. |
| Once you're done here, leave for the Fountain of Prayer (if you don't remember how to get there, it's east, then southeast). When you enter the screen, you'll notice the sound disappear. That's a pretty good indicator something's gonna happen, don't you think? No? Well, why don't you go ahead and use the save spot here, anyway. Also, make sure you have a healing item equipped (and armor, of course) before you move up to the fountain. This game has a picky little habit... |
 |
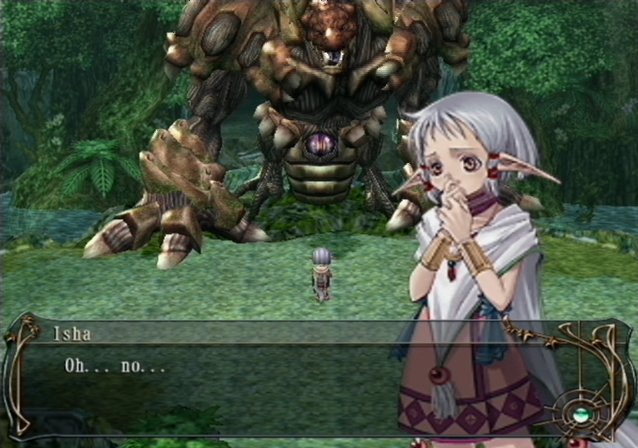 |
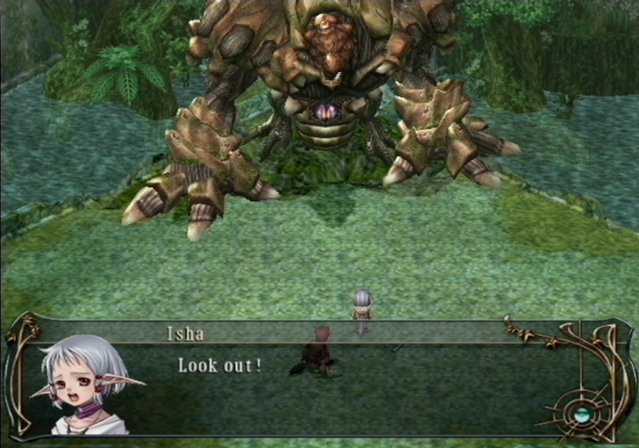
Isha looks pretty scared. Maybe because she's staring head on at Demi-Galba, your first boss. As eluded to above, you'd better have an item equipped, because you can't access your inventory or leave the room during any boss battles (a throwback to Ys games of yore). You save her pretty quickly, and push her out of the way, and then it's up to you to take this guy down! See Boss Strategies for instructions on how to take him down. |
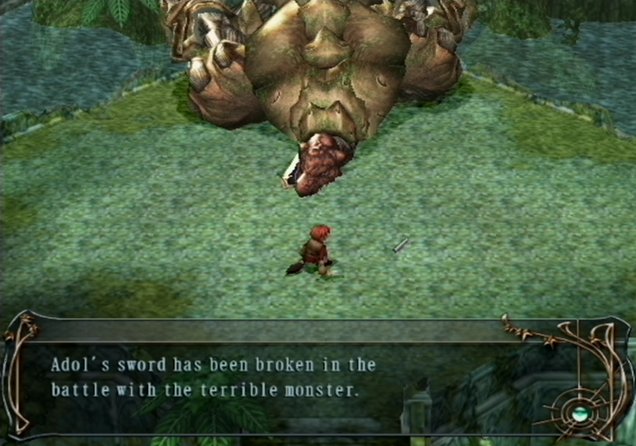
| Once you take this guy down, you'll notice your sword's broken. Great. Isha comes up to thank you. |
 |
 |
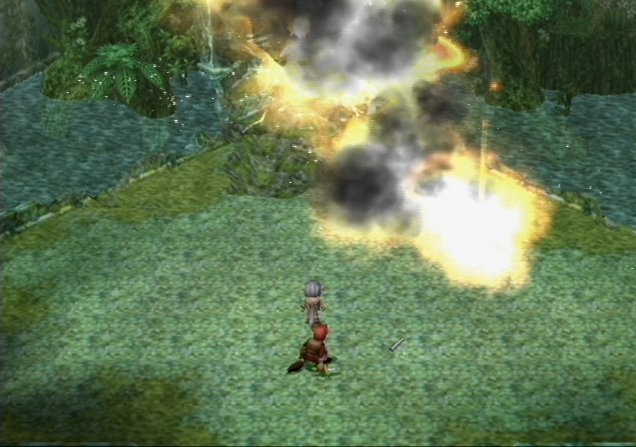
Well, there Isha goes getting scared again. Oh. It looks like your friend isn't quite dead yet. And you have no sword. Poopy. |
| Thankfully, a random arrow comes out of nowhere and takes this thing down. Your repeated stabbing it in the face does nothing, but an arrow makes it blow up like fireworks. We better learn that this is a magical-explody arrow, or something. |
 |
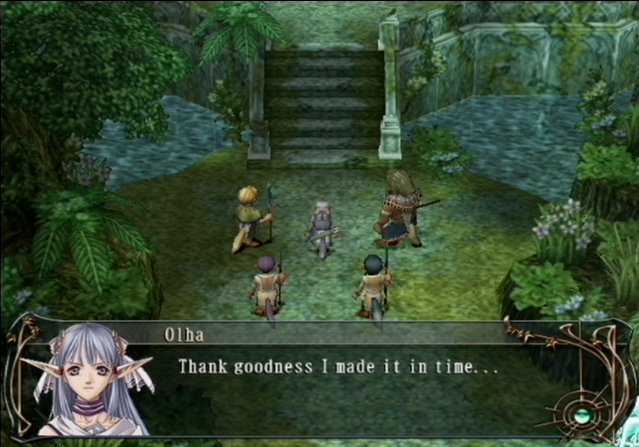 |
It appears that Isha and your savior was Olha and the others. Well, really just Olha. They just sat there and watched. You're (thankfully) transported back to the village at this point, saving you the trouble of walking back sword free. |
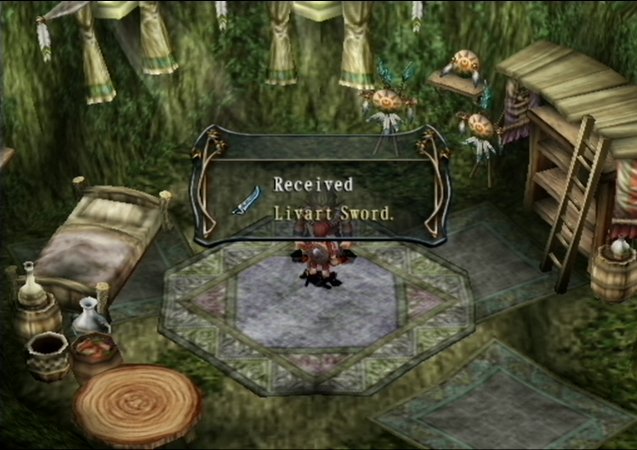
| In a short conversation with Olha and Chief Ord, you're informed that your sword was puny compared to their weapons. Apparantly, the people of this island use weapons made of Emel that can defeat enemies like the one you fought. Olha's arrows were the emel equivalent of some sort of magical-explody arrow. That makes sense. Chief Ord invites you into his room (no, it's nothing like that), and gives you a pretty new sword to replace your old one. This one is Livart, a sword crafted from Emel and infused with Wind magic. Pretty sweet, all-in-all. |
 |
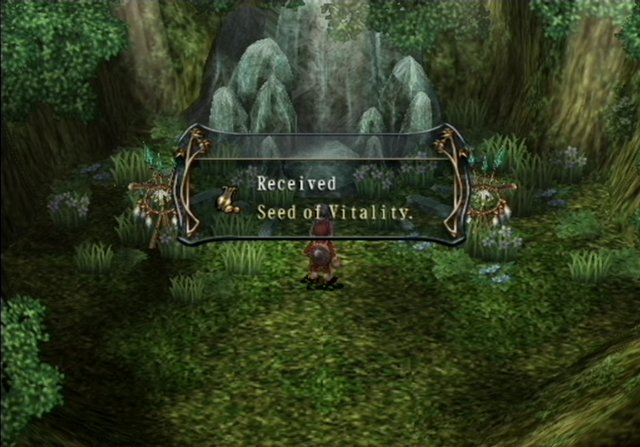 |
Before you leave the village, make sure you head up to the Garden and have a chat with Olha. She's grateful that you saved her sister and awards you with a Seed of Vitality. This adds 5 points to your Max HP. Nice! |
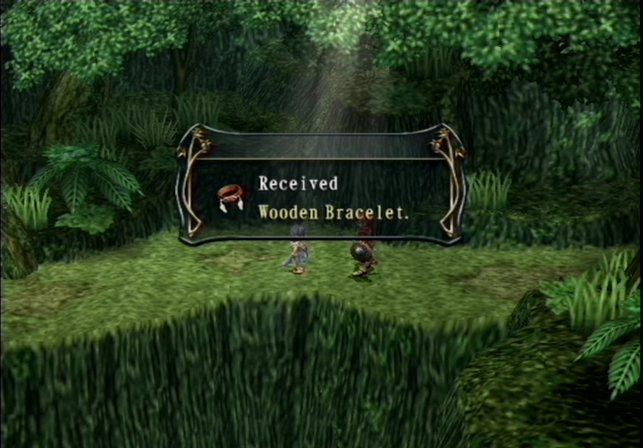
| Chief Ord mentioned a path behind the Fountain of Prayer that leads to the other island, so let's head there. Along the way, you run across Isha, who presents you with a hand-crafted Wooden Bracelet, that bumps up your strength and defense by 2. Nice again! What a giving family! |
 |
|
|