|
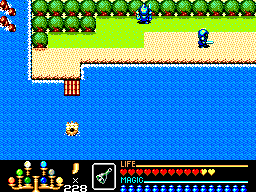
Get to the dock at [12,10] and travel
one screen south to get to another dock. You'll be at Autorulia. From there go
left, down then right.
|
 |
 |
Cut the trees and use the Ice Bell in front of the gravestone to break it. From
here, you can go directly to the 9th labyrinth or cut the tree above the gravestone
and follow the stream that'll lead you to a small town where you can rest and
buy stuff if needed.
|
|
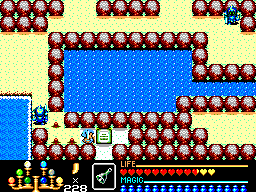
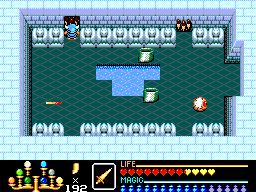
From the gravestone part, go down, left, down and down again. Cut the tree
as shown in the picture at [11,15] and
a convinient save point will appear. After you save your game, go right and up
and you'll find the labyrinth. Watch out for penguins (Dweepies) on the way.
|
 |
 |
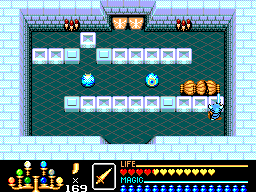
You should now be inside. Take the right door (now that you have the Thief's Key, locked
doors are not a problem) and kill all monsters. The shut door will open. Don't open the locked door yet,
enter the door to the right and again kill all enemies. In the next room, you guessed right,
kill all monsters and go up again.
|
|
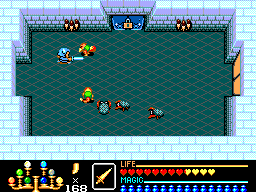
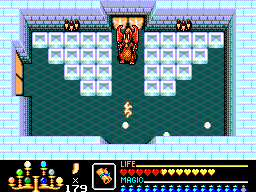
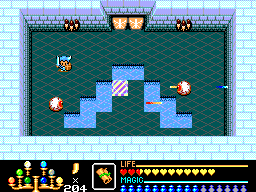
In the next room things get a little more complicated because there's little space to move
and the shell monsters keep following you. One easy way to do way with the shells (because
they'll chase after you) is to position yourself right next to the wall to the right as
shown and keep attacking the shells from there. This may take a while but it's the safest
way to get through this part of the labyrinth. Next kill the eyes using your axe, then
push the left torch on the wall.
|
 |
 |
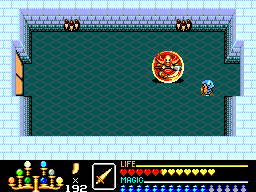
In the next room just break the leftmost brick and a path will appear. Go up and you'll
have to take down another midboss. It's a dragon again. You can use the same strategy
used for most bosses, stay at the doorway and use the Thunder Magic to kill it. It
should die after about 15 shots. The top shut door will now be open.
|
|
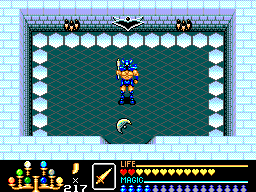
Go up and kill all monsters. You can use the Earth Magic against the red shell monsters
if you get them all grouped together to make things easier. Enter the left locked door
and push the left torch on the wall, then go back and enter the top door. Kill all
skeletons and demons and a warp will appear but don't enter it yet, go left instead.
|
 |
 |
Keep going left until you reach another midboss. It's a giant this time. The door
trick barely works this time, so you might want to fight it head on. Once you
kill the giant, enter the left door (not much of a choice).
|
|
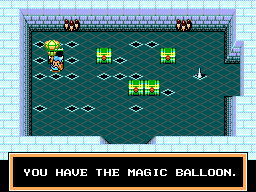
Carefully make your way to the chest at the left avoiding the others and get the
Magic Balloon. Then go all the way back to the room of skeletons and demons and
enter the warp.
|
 |
 |
Nothing new here, to proceed you need to kill all monsters. If you have enough
magic, use the Earth Magic to paralyze the red eyes and kill them. Once all enemies
are defeated the door will open. In next two rooms killing monsters is not needed
so you can just skip that part if you want. Push the left torch on the first room,
this will open the door to the second room, then push the right torch on the
second room. Go back and prepare yourself for the boss.
|
|
Same the first boss, stick to the doorway and attack him to your heart's contend
when he's close.
|
 |
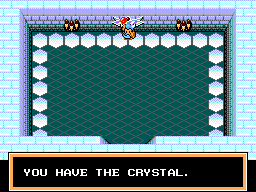 |
Once the boss is finished grab the last crystal and that's it. Only 1 more to go!
|

