|
Blue
Labyrinth
|
|
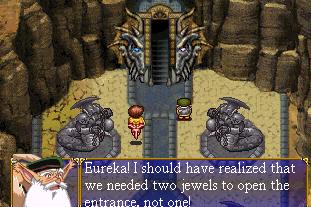 |
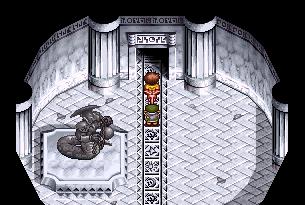
When you arrive at the Entrance to the Spire Area, walk up to the Dragon Head and Gywn will place the Left Opal Jewel inside the Head. Much to his dismay, the door doesn't open. So, while he's baffled, walk up and place the Right Sapphire Jewel in the other socket. This causes the door to open and for Gywn to ramble a bit. Once he's done ranting, head inside. |
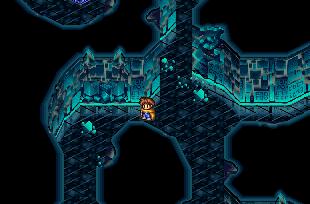 |
The area you now find yourself in is the Blue Labyrinth. The idea on the southern part of the map is to press the switches to make the platforms in the middle of the room line up. So from the entrance, keep to your left. The path will shortly divide into a North/South option. Visit both corners and trip the switches and then walk back to this spot. |
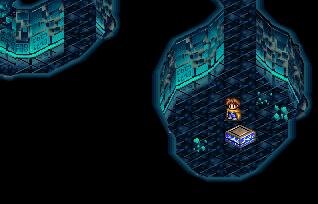 |
Once you have tripped the switches, head East and grab the chest along the way for an Angel's Tear and then continue East. You'll shortly reach the 3rd switch. Trip it and then head back to the newly formed bridge. |
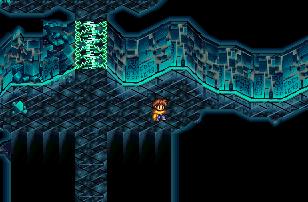 |
When you cross the bridge, there is a plasma field blocking your way North. Walk to the East to find another switch. Press the switch, walk back to the now non-existant plasma field and head North and up the stairs. |
 |
On the 2nd floor, you'll find much the same idea. Visit each room in the NW, NE, SW and SE corners and touch the globe in each room. Once you have touched all 4, the Mystic Transmission Pad at the very South of the map will now work. Grab the Star Light from the chest on the way and step onto the pad. |
 |
You're now on the 3rd Floor. Nothing much to do here for now except walk due North and exit the Blue Labyrinth. |
| Click Here to Continue... | |