
 |
|
|
 |
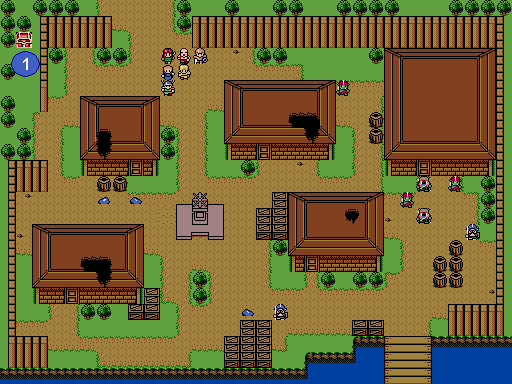
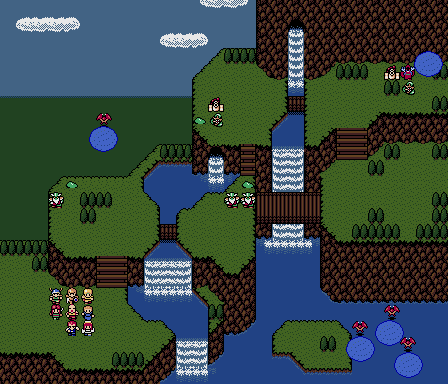
The Ancient Shrine; a New Journey Begins
| Battle 1: Taros' Temple | |
 |
Party: 


 Monsters: 

Spoils: None |
| Unlike the first battles of nearly every other title of the Shining Force series, this isn't one of the best battle for leveling up. You don't yet have the true leader of the force with an Egress spell yet, so until that time, Mead functions as the leader. This means that you have to purchase an Angel Wing every time you use one, and while that's not too expensive, Ian joins in the next battle, so it's best to just wait until then if at all. As far as strategy is concerned, this battle isn't too difficult regardless of your lack of a traditional leader. The enemies are spread far apart and your characters, even at Level 1, are significantly stronger, so don't stress too much on plotting a perfect strategy. If possible, however, you should try to let Knuckles get a few finishing blows so that he levels up at least once during this battle. In the beginning, his Strength is extremely low, but it rises quickly, so you will need to get him off to a good start if you intend for him to be a useful party member. All of the other characters can easily defeat enemies without additional help. |
|
| Battle 2: Hassan | |
 |
Party: 
Monsters:


Spoils: 1) Quick Chicken |
| If you want to do any leveling up, now's the time to do it; the enemies here are still significantly weak, and Ian can cast Egress to allow you to save up your coins for future needs. Start this battle by travelling down the center of the town in a large group, attacking the Pests once you arrive at them. From there, make your way to the east and take out the enemies as they come (this isn't a terribly difficult battle). If anything, be weary of the Hunter Goblins who can gang up on a single party member (usually Ian, who's weak at this point in the game), and if necessary, lead your party with someone with a high Defense rating. |
|
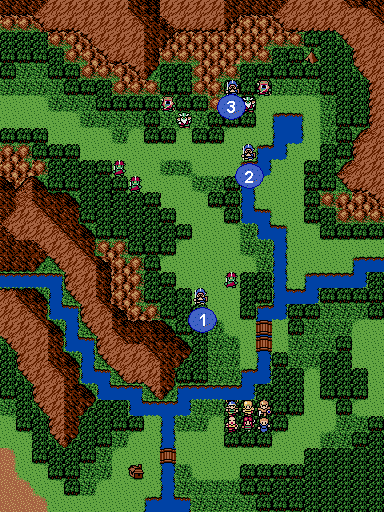
| Battle 3: To Ribble | |
 |
Party:
Monsters:

Spoils: 1) Medical Herb, 2) Medical Herb, 3) Medical Herb |
| For this battle, try to keep your party organized so that your characters with high Defense and HP lead (usually Paige and Mead) with your other characters following. Knuckles should be at a high enough level now to be a capable healer for wounded party members and able to deal a few useful hits otherwise, and your other characters shouldn't have much of a problem facing the enemies which are divided across the entire battlefield. Once you head north after crossing the bridge, however, try to move slowly to attract small numbers of enemies at a time, because otherwise they'll all attack at once and may knock out a few of your party members. Overall, though, this is an easy battle. Cynthia joins afterwards. | |
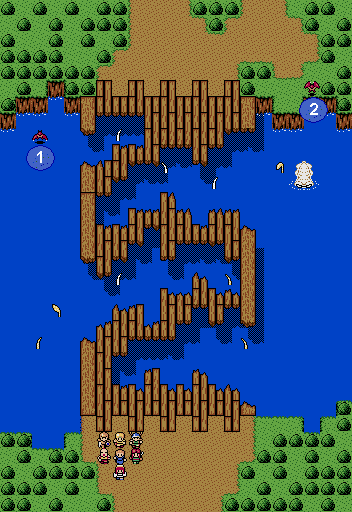
| Battle 4: Bridge | |
 |
Party:
 Monsters: 


Spoils: 1) Antidote, 2) Antidote |
| The enemies in this battle can do substantial damage to your force members if you aren't careful, especially the Kraken Arms. The Kraken head is merely there for display, so don't concern yourself with having to battle it eventually, but still keep your party members close together, healing whenever necessary. There is almost no position in which your force members are safe, so when an arm or a leg approach, concentrate your attacks on one enemy unit at a time. You won't have to defeat all the units, as once you reach the other side of the bridge, the battle soon ends. | |
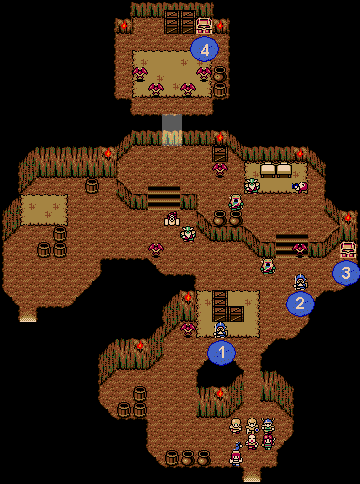
| Battle 5: Thief's Hideout | |
 |
Party:
Monsters:
 Spoils: 1) Medical Herb, 2) Medical herb, 3) Protect Milk, 4) Power Wine |
| Despite the large number of enemies during this battle, it's easy. The only real threat during this battle will be the accumulation of Giant Bats that can be unleashed on a single party member to put them to sleep with good enough odds. If one of your party members falls asleep, have your other characters protect them for a round or so until they awaken, healing when necessary, then press onward slowly. Don't miss the two treasure chests! After the battle, Ruburan the Thief joins your party | |
| Battle 6: Mountain to Behdo | |
 |
Party:
 Monsters:


 Spoils: 1) Antidote, 2) Antidote, 3) Antidote, 4) Antidote, 5) Cheerful Bread |
| Aside from the dark Mage, the enemies you've faced aren't any different aside from that the Green Pests can poison your party members and the enemies do more damage than before. You're on a much higher level now, though, so you shouldn't have to worry much about if your healers are able to reach your party members in time. Ruburan is an excellent party member to use due to the high amount of damage he causes and the range of his attacks, so consider keeping him close to the front. Regardless of the path taken to the dark Mage, the enemies will approach you, so it's best to confront them and get the first hit in while they're still in small groups. If Hawel has learned Blaze 2 by now, it will be incredibly useful for this battle for these groups, so consume his MP wisely. When you finally reach the dark Mage, surround and pummel it as quickly as possible in a scattered formation to avoid too many victims of its lethal Blaze 2 spell. Whoever delivers the finishing blow should have a blank space in their inventory so that they can pick up the Cheerful Bread. | |
|
|