
 |
|
|
Dungeon 4 - I, Gleeok, Will Knock You All Down!
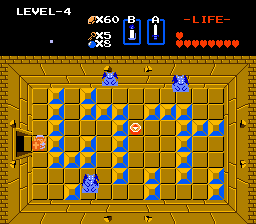
| Alrighty, here we are at Dungeon 4. Ganon's minions beware, this time we come at you AQUA BLUE STYLE! Anyway, go Left one screen. |  |
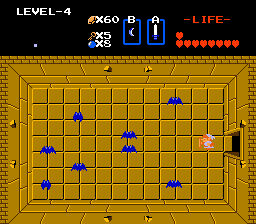  |
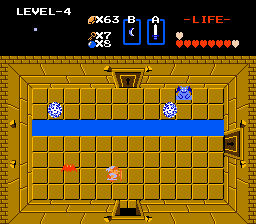
Just some Keese here, just boomerang and shoot your sword at all of them, and you'll be rewarded with a key. Take it and go back to the start screen (Right one screen), and then go Up one. |
| Ok, here we are encountering a new enemy, the Vire. They are four-eyed demons that hop around and try to hit you. The most annoying thing is, even though one sword shot will do them in, they decombust into two red Keese! The best strategy for them is to hit them with your sword and immediately fire your boomerang right after, you should hit the Keese before they can start flying around. Practice fighting them with these three, and then go Right one screen. | 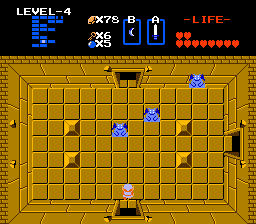 |
  |
What's this? A dark room? That's right, from here on we will occasionally encounter darkened rooms, obscuring the room's layout. For now just light off your candle to reveal what the room looks like. Of course, in his estimable wisdom, Ganon must've injected all his minions with Day-Glo dye, because they show up in the dark whether the lights are on or not! Between this, the Gumdrop Rangers, and the other doddering fools we've fought so far, I'm beginning to wonder how Zelda even got herself captured. Anyway, ice the Vire, and pick up the Compass as your reward. Then, go Left one screen and Up one. |
| Look mom, more Keese! Pluck off their wings with your sword and/or boomerang and you get another key as a reward. Go Left one screen, it'll be dark so light off the candle first. Uh-oh, more jumping demons. Unfortunately for them, their antics aren't amusing enough to save their lives. Zap them and go Up one. | 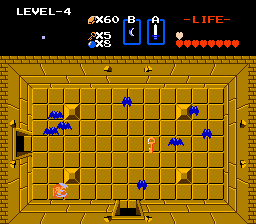 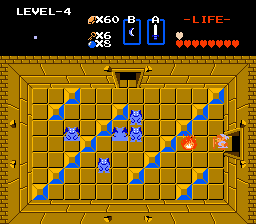 |
  |
Ok, another blackout, just light off the candle and you'll see... *facepalm* ...more friggin' Gumdrop Rangers. Just kill them and take their key, I almost feel ashamed doing so. Go Up one screen. After lighting off the candle in the new room you will see a few things of note. For one, besides the usual demon jumpers, there are a couple glowing balls moseying around. They are called Bubbles, and if you get hit by one you will be unable to use your sword for a few seconds. Don't worry though, they don't do any damage, they just keep you from slashing. Also, there's a strip of water keeping you from going up, that will be dealt with soon. For now unlock the door on your side and go Right. |
| More Vire, maneuver your way along the walkway and slash your way through, you want to go Right one screen, not up, and you have to kill all the Vire and their Keese before the door will open. Ok, now we're in the room of the second shortcut. Be careful here!! The most irritating enemy in the game, the Like-Like, is here. They take a lot of sword slashes to bring down, and if they hit you they will eat your large shield, so don't get hit or you're going to have to buy a new one. Kill the Like-Likes and the Zols while avoiding the Bubbles and then push the left block. A staircase will now open up and you're rewarded with the Ladder, we can use this to cross over one Link-width across water or other gaps. Get the Ladder, get back to the Like-Like room, and then go Left two screens. | 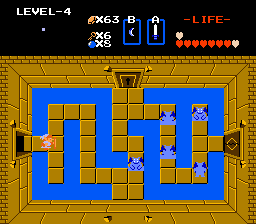 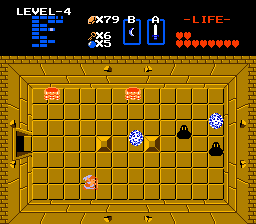 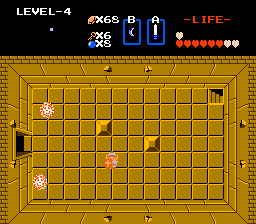 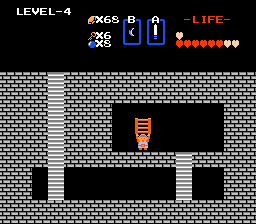 |
  |
Ok, now we're back where the moat was keeping us from going up. But now that we've got our nifty ladder, we can cross it with ease. Do so, and go Up through the locked door. More Vire here, kill them if you are feeling wrathful, otherwise go Right one screen. |
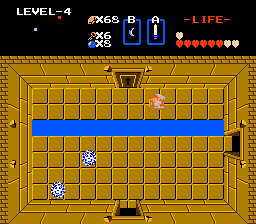
| Ok, in this room we don't even have to fight Zols, but an even weaker enemy, the Gels! Oh happy day. Kill them all, and grab the Map in the lower right corner. Next, even though the map says there isn't anything directly above us, I beg to differ. Take out your bombs and blow up the north wall, a hole will oepn. Enter it. | 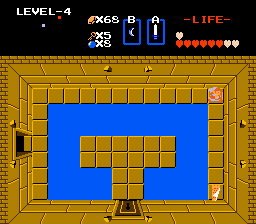 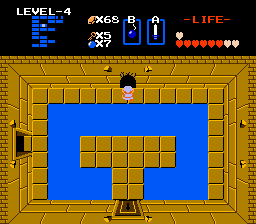 |
  |
Ah, a secret place. If you look at the map in the upper left corner you'll see you're off in black space. While the rupee display is more cosmetic than bountiful, grab the single rupy pieces and then once again bomb the north wall and enter it. |
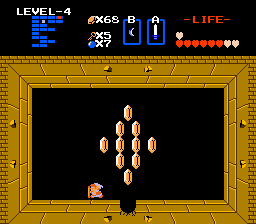
| Cross the precipice to reward yourself with another key. Kill the Keese if you want, but otherwise go back Down one screen. Ok. Now, bomb the right wall, and another hole will open. Enter. | 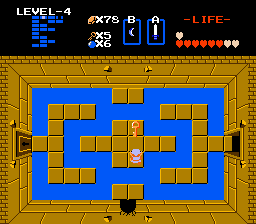 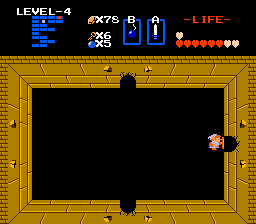 |
 |
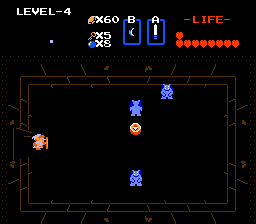
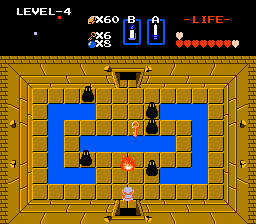
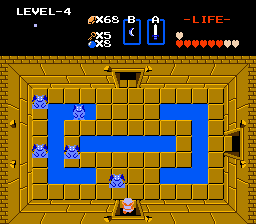
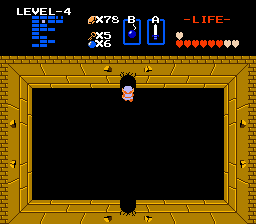
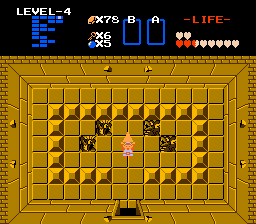
The next room has a few Vire in it and two doors, one of them sealed shut. Kill the jumping demons, but even then the sealed door won't open. After you slaughter the demons, push the left block, and the door will pop open. Now, be wary. Ahead lies the boss, Gleeok, so if you are real low on health get ready to drink your potion, we're likely going to end up taking a good deal of damage, he's tough. All set? Go Right. |
| All that's standing between us and another Triforce piece is Gleeok, the two-headed dragon. Bombs and arrows won't work, so don't bother with them, only your blade of searing justice will do the job. He shoots fireballs at you, and it isn't possible to block them, you'll have to dodge them when you can. Attack his heads, it will take 5 hits to knock off the first; I suggest attacking from the left or right side once you lose your beam sword. But, what's this? The head...floats!? Yup. When you knock off the first head it will start flying around and keep shooting fireballs at you. Don't worry about that head, just wade on in and concentrate on the second head, it will only take 3 hits to finish off Gleeok. Use a potion only if you absolutely have to. After killing Gleeok you are rewarded with another Heart Container. | 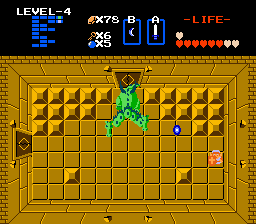 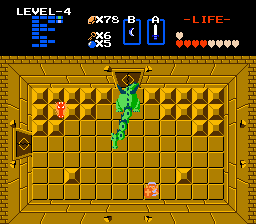 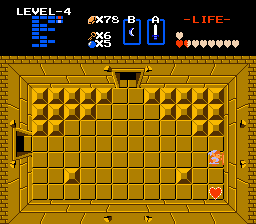 |
 |
Dy-no-mite! Another trivial pursu--I mean, Triforce piece for our collection. Hoist it over your cap with glee Link, and we're warped back to the start. I wonder if the piece was for History or Wild Card? |