
 |
|
|
Forsaken Fortress: Ascent
Now that Link has thoroughly explored the Forsaken Fortress, all that stands between him and his sister are three searchlights. He must disable them all, climb to the fortress's top, liberate his sword, and rescue his sister. All in a day's work for our little hero.
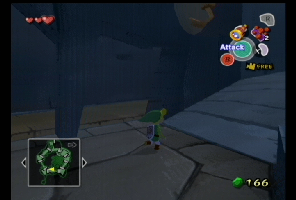 |
Now that you've collected some of the treasures lying around in the fortress, it's time to take out the searchlights! Start by running up the ramp just outside the first breezeway. It'll eventually lead to a ladder. Queen Bitch will call to tell you that you should try to use your shield to knock enemies' weapons loose and take them for yourself. Climb up the ladder. |
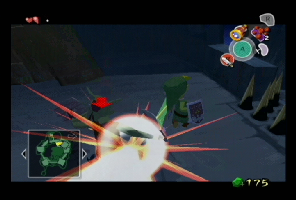
| A Bokoblin is operating the searchlight, and as soon as it notices you, it will release the controls, and the searchlights will shine upwards into the sky. To defeat the Bokoblins, raise the Hero's Shield and block all its strikes. Eventually, the Boko Stick it's using will be sent flying out of its hand. Quickly run and grab it before the Bokoblin does. Alternately, you can get a Boko Stick out of a pot in the corner. | 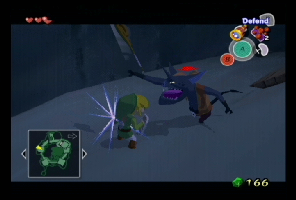 |
 |
Now, proceed to use the Boko Stick exactly as you would a sword, by pressing 'B'. Knock some splinters into its jaw! However, the stick is a bit unwieldy compared to your sword, so you may want to time your strikes. |
| When the Bokoblin is defeated, it will probably drop a Joy Pendant. Joy Pendants are items typically dropped by Bokoblins that can be given to a person in the game for some awesome rewards. They are stored in your Spoils Bag. | 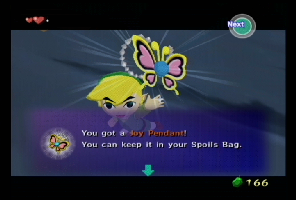 |
 |
Now head through the southwest door in the breezeway. You'll be back in the room where you got the Dungeon Map. Head straight across the balcony back outside. Turn left onto the outdoor balcony to find another ladder. Climb it and take another Bokoblin out using the same methods you used before. |
| Now backtrack to the first breezeway, heading east. When you get there, trek northeast into another room. A chest in this room contains the dungeon's Compass. The Compass allows you to see treasure chests and the like are located in the dungeon. Pretty useless, but they do come in handy sometimes. |  |
 |
Now, line your jump up carefully and hop onto the rope. Swing across to the opposite balcony, and exit. |
| By now, you've probably noticed that every so often, the game will pause to show you a cutscene displaying how far away you are from where Aryll is being kept. Oh yeah, I was wondering what we came here for! |  |
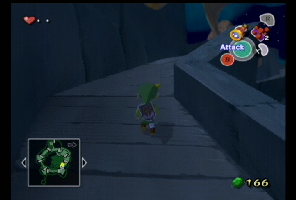 |
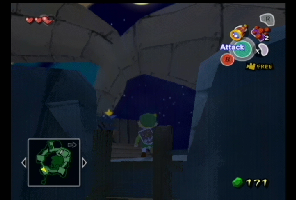
Turn southwest at the end of this breezeway and follow the path up. It leads to the final spotlight. |
| Take out this last Bokoblin to completely disable the spotlights. Now you'll be able to make it to Aryll's prison. | 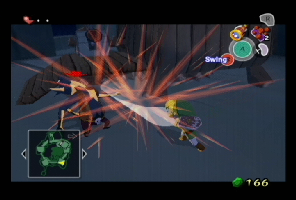 |
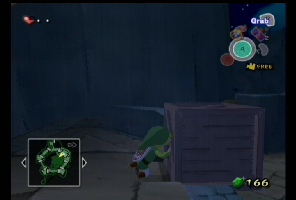 |
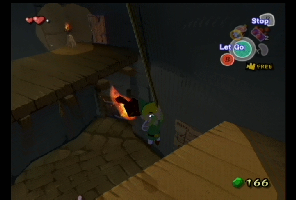
Now, climb back down to the breezeway (be careful not to fall), and head through the door you haven't been through yet. You'll have to swing across another gap, but that's not a big problem. When you emerge outside once again, turn south onto the ledge. There is a wooden box sitting here that you can push off the ledge and into the courtyard. Doing this will allow you to climb back up to this point, should your clumsy ass stumble off a ledge. Head west through the door. |
| There are Rats in this room, but they shouldn't you trouble too much. More importantly, there is a Moblin patrolling the north end of the room, and you don't want it to catch you. So, put on one of the nearby barrels and start walking towards the door at the end of the short staircase. Be sure to only pass by when the Moblin's back is to you. If the game makes a dramatic noise and the Moblin turns towards you as if it heard/saw movement, immediately stand still. When the Moblin is convinced it was just its imagination, it will move on. Hurry up and get to the door. You'll have to ditch the barrel before you head through. | 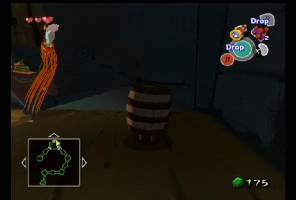 |
 |
You're on the final ascent to Aryll's dungeon. Follow the path, grabbing a barrel along the way. A pesky Moblin is patrolling a ledge. This Moblin is particularly tricky to get past. Carefully walk up to it, then freeze towards the corner. Then, wait for the Moblin to walk past you. If it stops to sniff around the barrel, just stay calm and try not to vomit from its B.O. Once the Moblin is a safe distance away, turn the corner as fast as you can.. Alternately, wait for the Moblin to turn its back to you while near the ledge, then make a break for it. |
| Once you about halfway up the ramp that immediately follows the corner, you're good to go, so get rid of the barrel and proceed upward. | 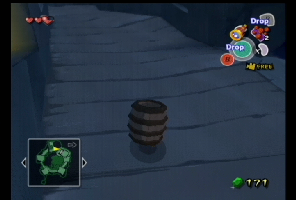 |
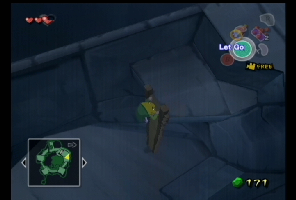 |
You'll find that the path is broken. It's possible to proceed onward, but to be safe, climb down the partially-hidden ladder at this point. There is another wooden box you can use as a shortcut. |
| Once you've done that, climb the ladder back up. To make it across the gap, flatten yourself against the wall by getting up against it and holding 'A' when 'Sidle' appears on the action icon. Now, use the control stick to inch yourself along the wall and the tiny strip of path that's left. Once you get to the end of any surface, you can continue holding the control stick to have Link look around the corner for any threats that may be present. | 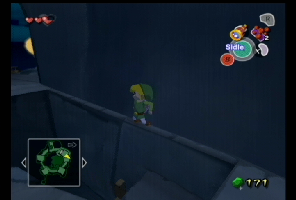 |
 |
You'll have to pass another gap in the path using the same method. When you finally reach the top of the fortress, you'll run into a Shield Bokoblin. In addition, spikes will rise behind Link, effectively leaving him nowhere to run. Shield Bokoblins are green Bokoblins that use a Boko Shield and wield machetes. Unfortunately, you won't be able to make them drop their weapons with your shield. |
| Fortunately, it seems that your own sword landed on this balcony. Run over to it and get back the Hero's Sword.. |  |
 |
Now the Shield Bokoblin should pose almost no problem. It may try to block your attacks, but its shield isn't very effective. Parry attacks also work well. |
| After the Shield Bokoblin is slain, you can actually use its machete. Unfortunately, like every other enemy weapon, it's pretty awkward to use. |  |
 |
Now, head through the door to initiate another long string of events. To sum things up, Aryll doesn't get rescued (hurra--I mean, boo!) and Link ends up getting flung to who knows where. Congratulations, you just wasted an hour of your time. |
Backward: Forsaken Fortress: Ground Levels
To: Walkthrough Home
Forward: Windfall Island: The Boat's Sail
|
|