
 |
|
|
Dungeon 6 - Is That A Wand In Your Pocket, Or Are You Just Happy To See Me?
| Alright, Dungeon 5 is off the books, and now it's time to head towards to Level 6. Don't worry, it's not too far away. From the Level 5 entrance screen, go Down one screen and then Left six. Next, head Down one screen, and Left two more.You should end up where the screenshot is. Take one of the staircases Down. | 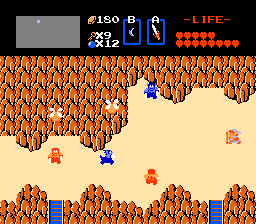 |
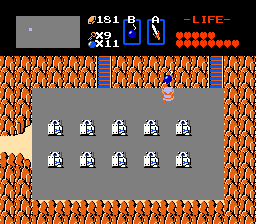 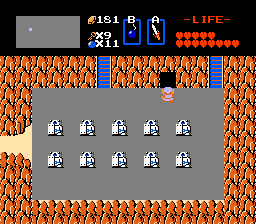 |
You'll now be at a screen with those frosted statues. Now, if you don't have a potion, we had better buy a red one, you could very well need it in Dungeon 6. I recommend buying a red one too if you don't consider yourself an "1337 z31d4 m4s7r," even if you already have a blue potion. Anyway, to get a potion, just bomb where I have in the screenshot, and a cave'll open up. |
| Ok, after buying a potion (if you did so), then go Left one screen and Up one. Ah ha! Dungeon 6 awaits. | 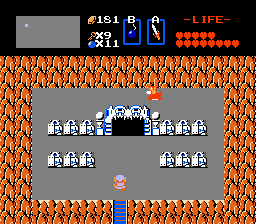 |
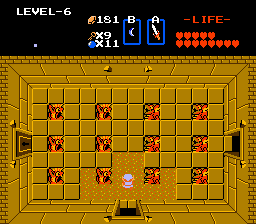 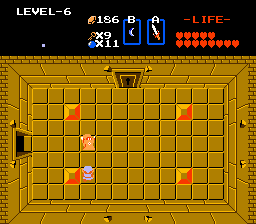 |
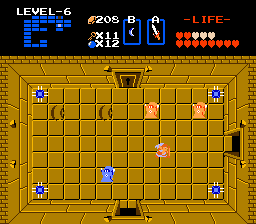
Woo, Dungeon 6, now with iodine-colored tiling! Rar. Anyway, from the level start go Right one screen. A new enemy awaits, the Wizrobe. This little bugger teleports somewhere around the map and then shoots a blast from his wand at you. The Red Wizrobes aren't too tough, just wait for them to materialize, hit them with sword to kill them (one hit required with the Magic Sword) and block their wand shots with your shield. Your reward is a key. Take it and go Left two screens. |
| Alright, not much to say here, just more Red Wizrobes. One of them though is the "leader" of the room, killing him will make the rest disappear. After this, go Up one screen. You'll be greeted by a contingent of Gumdrop Rangers, hacking through them will reveal the Compass. Take it, and go Up another screen. | 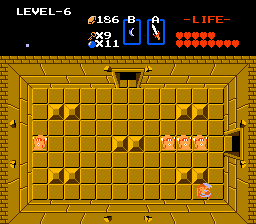 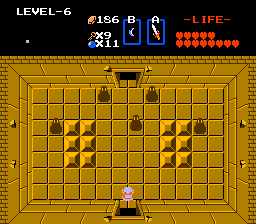 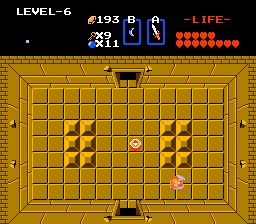 |
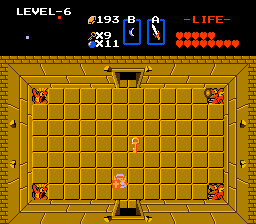 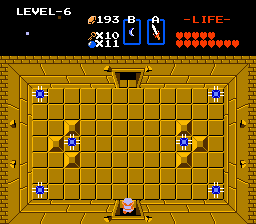 |
You'll be in a room with a sealed door at the top, a bunch of bats, and four fireball spewing statues. Killing the Keese will not only open the door, but reward you with a key as well. Just dodge and block the fireballs as best you can. After clearing the room, go Up one screen. There will be three sets of floor traps, but just run straight forward and they'll miss hitting you. |
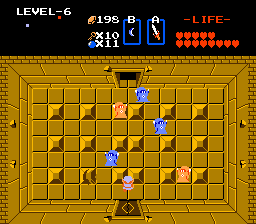
| Alright, this next room is pretty challenging. There are some Like-Likes, Red Wizrobes, and even Bubbles, oy. But worst of all, there are now _blue_ Wizrobes, they're even harder. They move freely around the room rather than the stationary Red ones, and they teleport diagonally too! Man, these guys are my least-favorite enemy in the game. You have to clear the room in order to proceed, good luck, I suggest hitting the blue ones from the back or sides, they fire wand blasts at you when you're in their line of sight. Another tip is to wipe out the Red Wizrobes first, then isolate and destroy the Like-Likes, then dogfight with the Blue Wizrobes. After winning the day, push the left block and the door will open. | 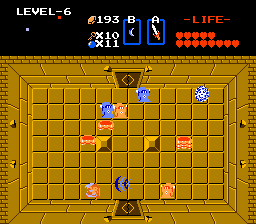 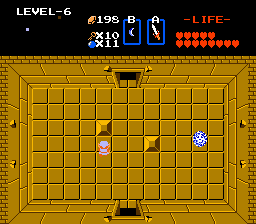 |
 |
More Blue and Red Wizrobes greet you here. I actually suggest just walking around the enemy and going Up without a prolonged firefight, the Wizrobes have a tendency to be real HP-suckers if you don't start the fight well and there isn't a reward for killing them all. Maybe take the Red ones out first in hopes of getting a Heart or Clock, otherwise just go Up again. |
| Ok, looks like Gleeok felt that he lost to us in Dungeon 4 because of lag or something, because he's back for another fight. Only this time he has 3 heads instead of two and is even stronger than before. The same deal as last time, you have to attack his heads to kill him, and the severed ones fly around and shoot at you. It'll take 3 hits for the first one, then two for the other two heads. Just close the distance and start hacking. Don't feel ashamed if you have to use a potion after the fight, but try to hold out as long as you can without needing one. Killing him will open the door on the Right, enter it. | 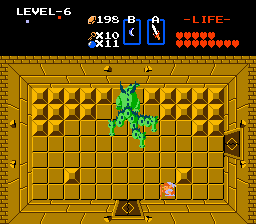 |
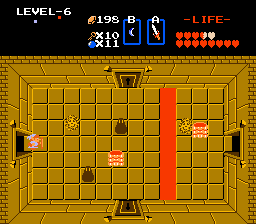 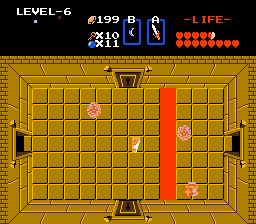 |
The next room is pretty easy, just some Zols and Like-Likes and Bubbles. Cleaning them out will net you the Map. Take it and go Right one screen. There'll be a bunch of Red Wizrobes, but it shouldn't be anything you can't handle. Kill them, take the key they leave, and then go Left one screen and Up one. |
| This is another rough room. More Red and Blue Wizrobes, plus some Like-Likes and a Bubble just for fun. Fight long, fight hard, and when you've killed everything but the Bubble, push the left block. A staircase will be revealed, enter it to claim the latest item for our ever-filling inventory, the Wand! You can use it to shoot at some enemies. Exit the Wand room, and go Down two screens. | 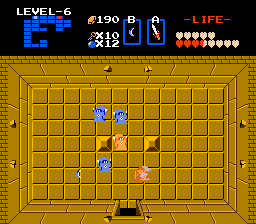 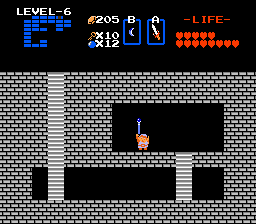 |
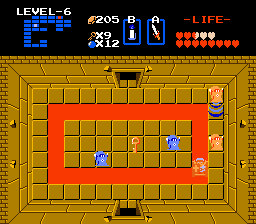 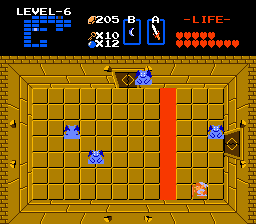 |
You'll now be here. There are a bunch of more Wizrobes flitting around in this area, I advise not fighting them, just grab the key in the center of the room and go Down another screen. There'll be a refreshing break from Wizrobes and Like-Likes, some Vire have come out to play! Now, thanks to the Magic Sword, slashing them won't spawn the Red Keese, so just hack your way through them and go Right one screen. |
| Here's the last tough-as-nails room in this dungeon, I swear on my Heart Containers! Do your best to cut through the squadron of Wizrobes and Like-Likes, and after you're through push the block. A secret passage will open up, enter it and you'll be taken to the second screenshot. It's just Gumdrop Rangers, Like-Likes, and Bubbles. Hack and whack and go Down. | 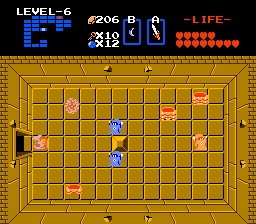 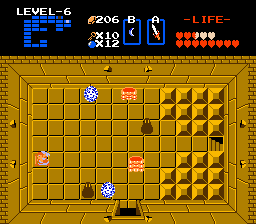 |
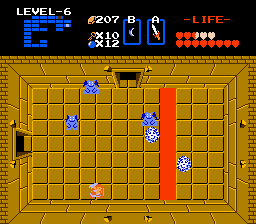  |
There'll just be mostly Vire here. Kill 'em all and you're rewarded with another key. Go Left. Don't worry about fighting in the next room (2nd screenshot), there isn't any reward for it and we're so close to the end I can almost smell Gohma's fear. Ready to fight the boss? Go Up one screen. |
| Ah, here we are. Ganon must be pulling out his Cyclopian strain of boss enemies. First there was the optically-inclined Digdogger, and now we have a giant crab with an eye tacked onto its face for Level 6. Anyway, Gohma's got real strong armor except one spot, you guessed it, his single beady eye. First, arm your bow and arrow. Then, keep dodging his fireballs until his eye opens all the way (like in the screenshot), and fire an arrow at it. One direct hit is all you need. After that, pull his pulsing heart off the ground, add it to your collection, and go Up one screen. | 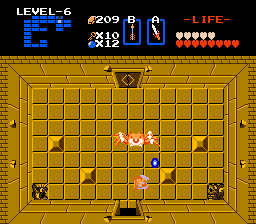 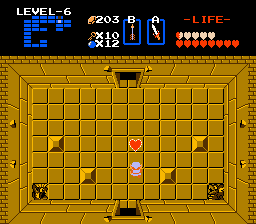 |
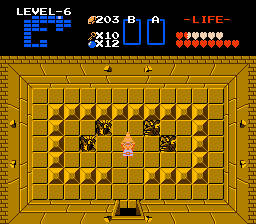 |
No, your reward isn't a new car or a trip to Tahiti, it's, surprise, another Triforce piece! I'm running out of ways to say "hold it over your head," so uh, just do so and skeddadle out of the dungeon. On to Level 7! |