
 |
|
|
Voyage to Dragon Roost
Link is well on his way to the east, where he will supposedly find someone or something that will help him defeat Ganondorf and rescue his sister. However, note that the majority of this section of the walkthrough is optional, and if you want to continue with the adventure, just sail east, towards Sector F2 on the Sea Chart.
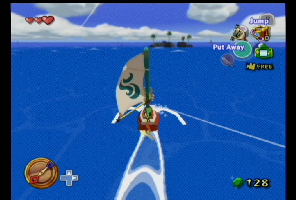 |
To put your sail up or take it down, use the appropriate button. Use the 'R' button to hop. Hopping while holding the control stick is a good way to turn around quickly. If the sail is down, use 'R' to cruise slowly. Finally, hold 'A' while the sail is down to stop. Sail in an easterly direction. You should be able to see the silhouettes of islands on the horizon. Once you can make out one in Sector E2 on the Sea Chart, set your course towards it. Also, note that the Tingle Tuner Red Guide Book changes to the Blue Guide Book while at sea, but it's still the same useless trash, just more nautically-oriented. |
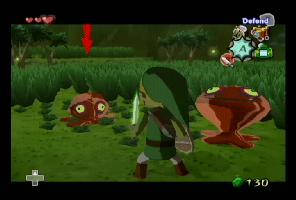
| Eventually, you'll reach Pawprint Isle, named for its general shape, as islands usually are. Jump out of the boat and make your way to the island mainland. In the center is a giant dome. Start cutting the grass until you find a small crawlspace on the side of it. | 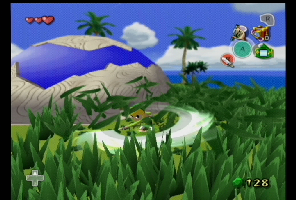 |
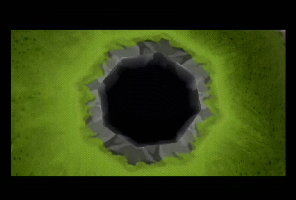 |
Crawl through the crawlspace into the dome. There's a small hole in the center of the moss that's just big enough for Link to drop into. These holes lead to areas called Secret Caverns, underground caves that usually hold some valuable treasure. This particular cave is the first of twenty caverns. |
| You'll find yourself in a large, underground grove that also features a network of tunnels. To exit the cavern, just enter the tractor beam of light that floods the cavern after you step off the point where you entered. No, you won't be abudcted by aliens, but instead be returned to the hole you dropped through. | 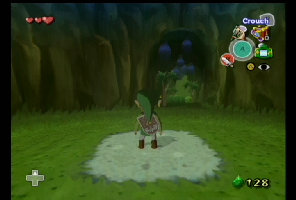 |
 |
Proceed forward through a short tunnel into a spacious cavern. Soon, red globs of jelly will form. These things are Red ChuChus, gelatinous creatures that look like something that may have come from your ass. Their only attack is to hop at you in a giant bound. They're pretty easy to defeat, as a single slash will defeat them. |
| Just as Bokoblins sometimes drop Joy Pendants, Red ChuChus will drop Red Chu Jelly when defeated. The only difference is that they seem to drop it more often. Red Chu Jelly are spoils, like Joy Pendants. Give five of them to Doc Bandam at the potion shop on Windfall Island for a free dose of Red Potion...if you're willing to drink that shit. |  |
 |
Also, this is the first time there's a chance of an Item Ball appearing when you defeat an enemy. Item Balls aren't something you could pick up, but rather a glass sphere that sits on the ground just waiting to be smashed for its contents: various perishables. Item Balls will also not disappear like, say, Rupees or Recovery Hearts. There's also a trick to using Item Balls: they flash different colors before you smash them. Slash it when it's red to get more Recovery Hearts, green for more Rupees, and yellow for items. Yellow will also get you more Magic Vials when you gain the ability to use magic. |
| When you're done raping the ChuChus, head through the tunnel just to the right of where you came out of the previous tunnel. On the way through the tunnel, you'll pass a large boulder. This can be blown up when you get explosives in the future. Unfortunately, you can't use a Tingle Bomb on it because Tingle is too much of a pussy to follow you into the dark catacombs--even if he's only with you through a radio signal. | 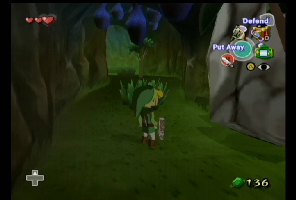 |
 |
When the tunnel comes to an end, you'll be in a smaller opening where the Red ChuChus will attack again, with three or four of them at once in the squadron this time. However, they're still easily dealt with. Once you're done cleaning Chu Jelly off your blade, open the chest for another Piece of Heart. This is the fourth of forty-four, and it should also complete another Heart Container. |
| The other tunnel you haven't been through ends in a dead end blocked by a bombable rock, so go ahead and leave the cavern. As you sail away from the island, you'll quickly come upon a rusty boat with four divers on it. Talk to them. It's Salvage Corp., a group of deep-sea divers that use grappling hooks from Dragon Roost Island to salvage treasure from the open floor. You'll soon be doing this often, as well. The corporation's antics will quickly make you love them to pieces. They appear at certain islands around the Great Sea. | 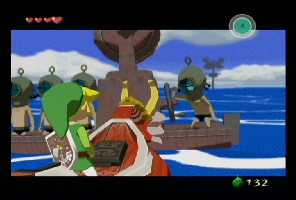 |
 |
Just for talking to them, Salvage Corp. will give you Treasure Chart #34, which leads to the underwater treasure at Sector F4, Eastern Triangle Island. |
| Now sail towards the silhouette of the wooden ower in the distance that claws at the sky. It's adorned with giant skulls on top. It's called a Sea Platform, but we'll go over that in a moment. | 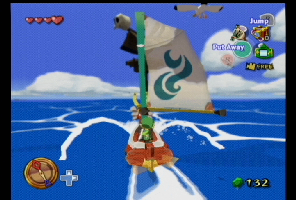 |
 |
At some point, you'll probably notice a circle of energy protruding from the surface of the waves. This is a Ring of Light, and they appear randomly around the Great Sea. You can use a grappling hook in the center of the ring to bring up a chest containing Rupees. Unfortunately, you don't have the right tool yet. |
| Beedle's shop ship is probably crusing around somewhere nearby, as well, so if you want to stock back up on All-Purpose Bait of Hyoi Pears, stop by. | 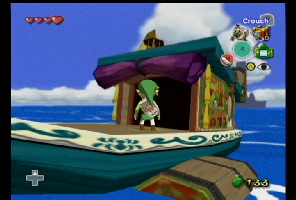 |
 |
Now start your climb to the top of the Sea Platform; the ladder extends into the water. Sea Platforms are tall, wooden towers that usually boast some enemies and a small, minor treasure of some sort. This particular platform is the first of twenty. |
| Two Sea Bokoblins are sleeping at the top of the platform. Sea Bokoblins are just like regular Bokoblins, only they're...found...at sea. Just take them out like normal Bokoblins. By the way, it counts as a kill if you knock them off the platform and into the water below. | 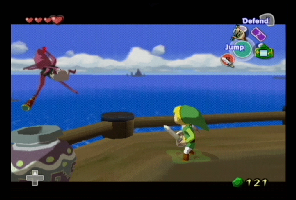 |
 |
Once both Bokoblins are dead, a chest containing a Red Rupee will appear. |
| You've taken care of all the currently available sidequests at Pawprint Isle, so sail east, towards your destination: Dragon Roost Island. | 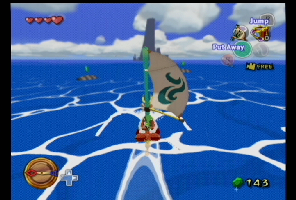 |
Backward: Windfall Island: The Killer Bees
To: Walkthrough Home
Forward: Dragon Roost Island: Exterior
|
|