
Map Editor
This is a Walkthtrough on the how to properly use the Map Editor program that comes with Heroes of Might and Magic II. The order of this toturial is based mainly on the "NewMap" option, as explained below. If you choose the "LoadMap" option, scroll down to which ever item you are currenly dealing with.
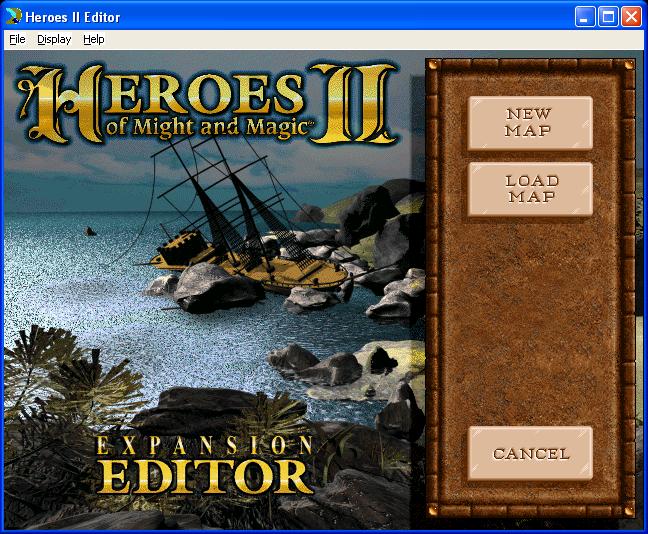
- Open the program. This is achieved by either choosing the Map Editor option on the autorun screen or by choosing the program in the file folder.
- Choose either the NewMap or LoadMap option. New Map is creating your own map, while LoadMap is opening an already completed map and altering it.
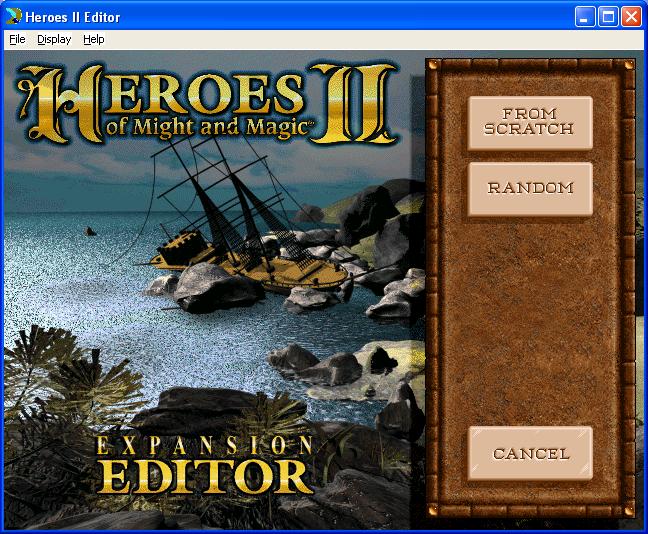
- Choose either the "From Scratch" or "Random" option. "From Scratch" being to make the entire map by hand - the layout, options, castle placements, ect - while the "Random" option will generate the map layout for you.
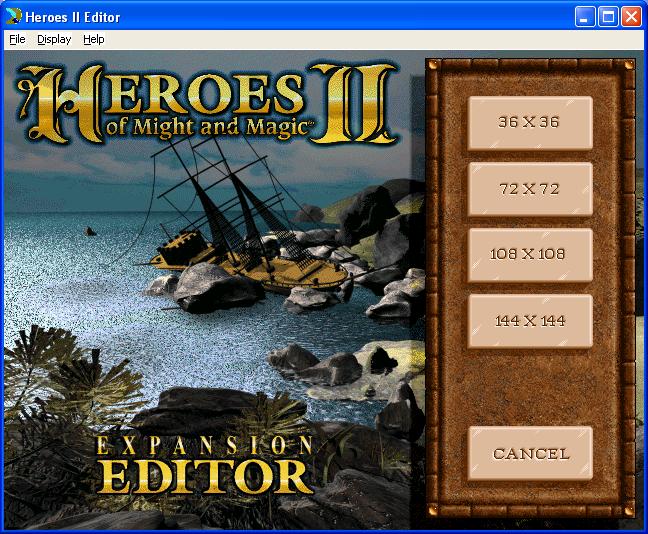
- Decide upon a map size. This will open Map Editor for creating/adjusting maps.
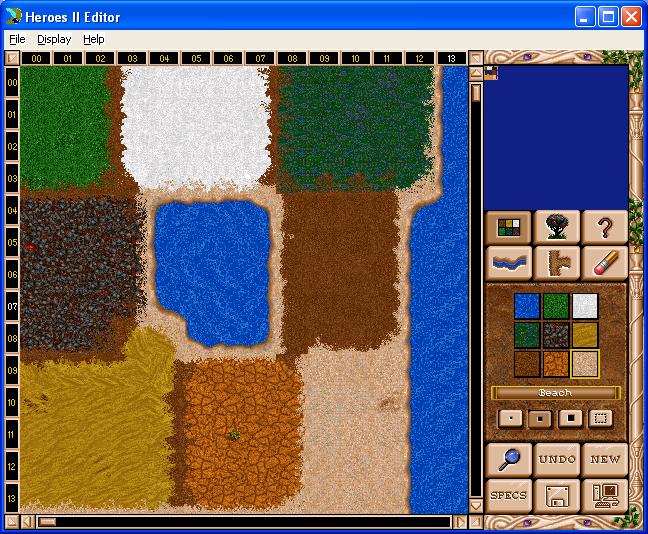
- When the New Editor opens, the map will be composed entirely of water if you chose to do it from scratch, while "Random" will generate a map for you. The majority of the window will be taken up by your map. Notice the workbar on the right side of the screen, the top is a mini map of you current map. Below that are six butons, the first in the top row is Land, folowed by Greenary and Scenery, Details, Rivers, Roads, and the Eraser. Below these buttons is a the active option window. Finally, on the bottom of the workbar are six more buttons - Choose Magnification, the "Undo" button, "New Map", Map "Specs", Save, and Map Options.
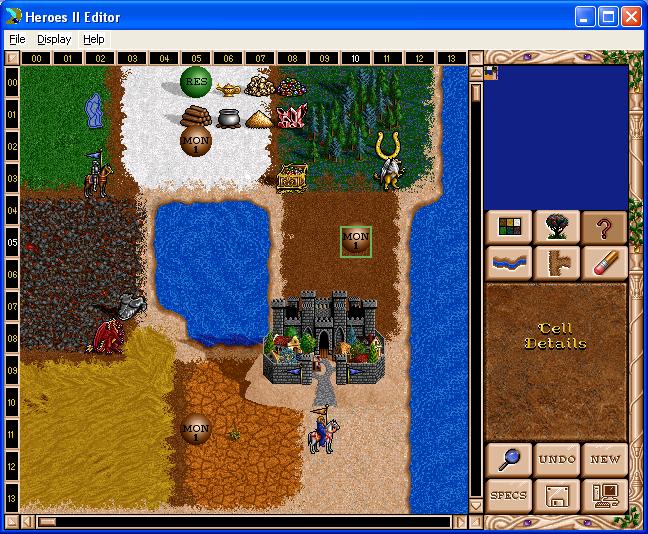
- From here, you may begin by placing land on the map. There are nine land types - water, grass, dirt, snow, desert, wasteland, swamp, ash, and beach. They are shown in the active option window. You can also choose the the size of land to be placed.
- By choosing the greenary and scenery option, you can place montsers, castles, heroes, artifacts, scenery, and resources on the map. A selection window will replace the screen and you can choose your selection from there. Note that on some options, you can click and arrow on either the bottom left or right to change the selection to match different types of land that you may have selected.
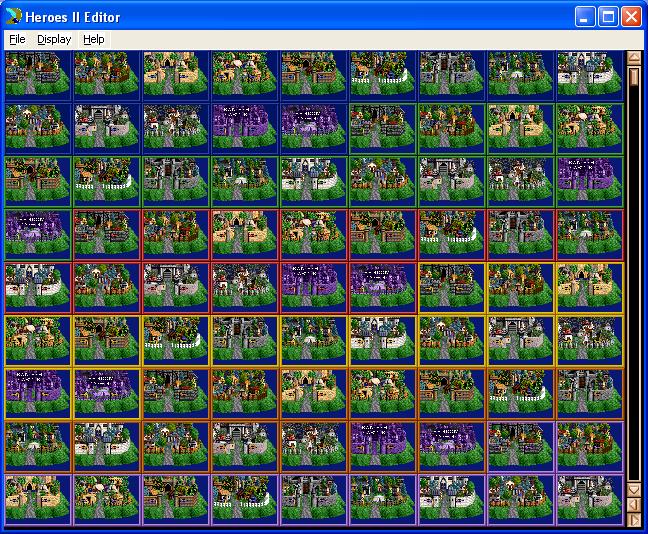
- After choosing a monster, castle, hero, artifact, pieco of scenery, or resource, place it on the map. To see details on an object, choose the Details option and click on an object to see the Cell Details. In Cell Details, you can decide if creatures will join you, how advanced a castle will start, the contents of a chest, and much, much more!
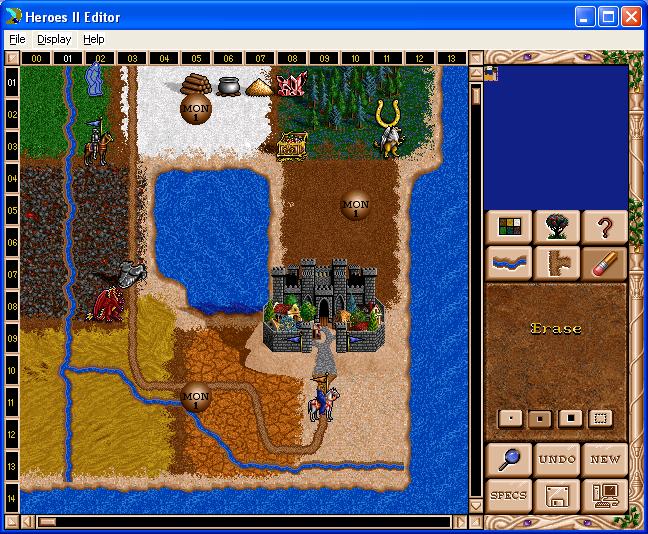
- To delete something from your map(other than a land type), choose the erase option and click on the object. You can also click and drag to erase large quantities. If you decide that it was better that you didn't delete the object directly after this, you can click the "Undo" button. Note that this button also works for many other things. Clicking the "Undo" button will undo your last command - Also note that there is not a "Redo" button, so once it is "Undone", you will need to replace it by hand if you would like to bring what ever it is you "Undid".
- Once you have finished setting up your map, physically, you can decide upon other aspects of the map. Open the "Specs" option. Here you can determine you victory/defeat conditions - the default of which being to lose all towns and hereos - , the map name, the map's description, decide which players can be only be human, computer, or both, create rumors to be seen in Taverns, and create events.(default or special)
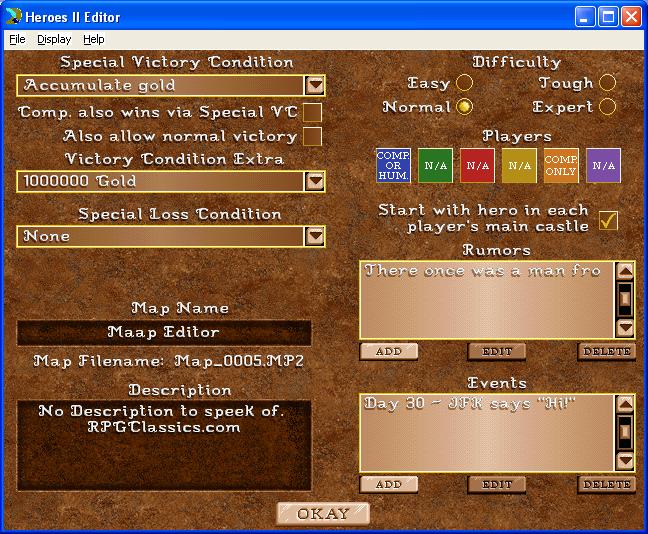
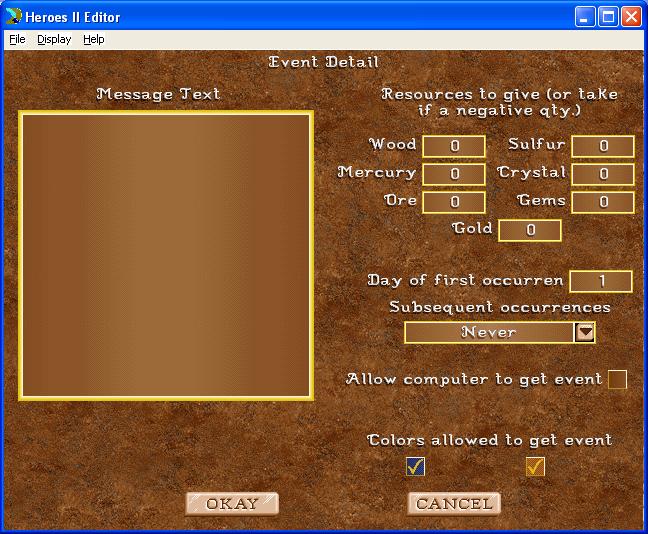
- To create a rumor, click the "Add" button under rumors, type in whatever it is that you which to be rumored, and click Okay. To edit or delete a rumor, choose the respective button. To add and Event, click on the "Add" button. Message Text is the explanation that will accompany your event. Resources can be given or taken(use a negative amount to take) at the occurance of the event, if you choose. You can also choose the first day it will occur and if/when it will occur again. Last for this, you decide if computer players will also receive this event along with wich players/colors will, also.
- Save and Play!
Choose the "Save" option.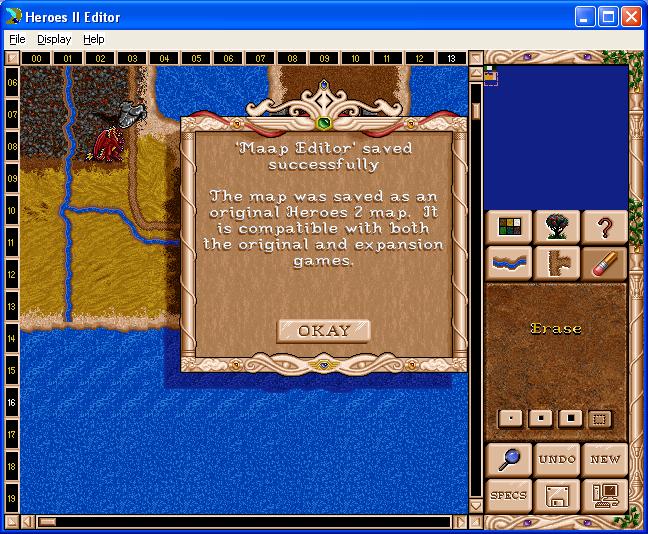
 The text in this document is licensed under the Creative Commons Attribution-NonCommercial-ShareAlike License. Anyone is free to use, copy, modify and re-distribute this work as long as they agree to the terms in the license.