
 |
|
|
Dungeon 2 - Snakes, Why'd It Have To Be Snakes?
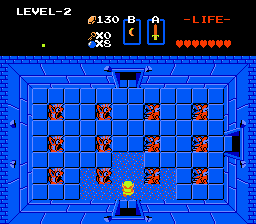 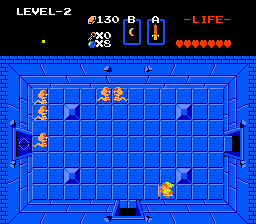 |
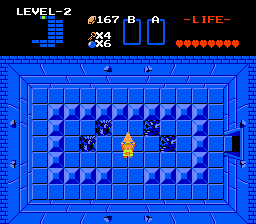
Ok, we're now inside the second level. Go up one screen. What are these snakes everywhere you ask? They're called Ropes, and they charge at you real fast if you are in their line of sight. They are weak health-wise, and if you stand on the lines separating the tiles rather than directly on a tile then they won't run at you. Ropes are also a great source of money, they are easy to kill and frequently drop blue rupees. Zap them with your sword, the door on your Left will oepn and then enter it. |
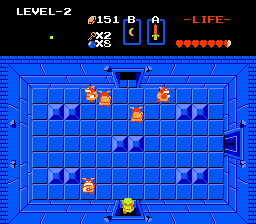
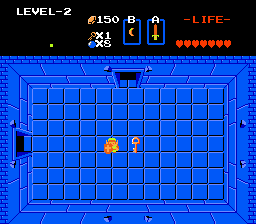
| More snakes that need choppin'. After you clear them out you are rewarded with a key, darhar. Go back to the room you came from and go Right again. There you will fight a few more snakes. Now, I know the natural inclination is to use the key you got and open the door on your right, but don't bother. We aren't going to need to use any keys to complete Dungeon Two. Go Down one screen, clear out the snakes, and grab the key left behind. Go Up two screens from there. | 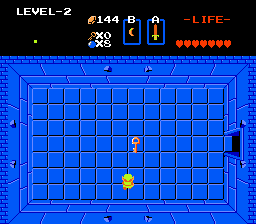 |
  |
You should now be here. You can run past the boomerang guys, they don't drop any items of significance, but if you do wish to fight them aim for the one in the upper left corner as you enter the room. He's the "leader" of this group and if you kill him the rest will disappear, dropping their items. Now go Up another screen and another swarm of Ropes are lurking for you. Wipe 'em out and you get another key to add to you collection. |
| Now, after you get the key you gotta get prepared. The next room can be rather rough. Arm your bombs to your B item slot and go Right one screen. You'll be in a room with, what's this? Blue< boomerang guys?! We thought the red ones were tricky enough. Not just that, but the four statues in the corners of the room will shoot stuff at you. Use your large shield to block the statue's shots and the enemies boomerangs, now for the attack. It will take 5 sword strikes to kill just one of the boomerangers, but, if you hit them with a bomb first it will only take you one sword slash. Try to hit the enemies in a group with your bomb so you can be as economical as possible. After beating them you will be rewarded with the Magical (Blue) Boomerang! It flies farther and faster than your old one. | 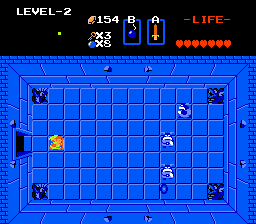 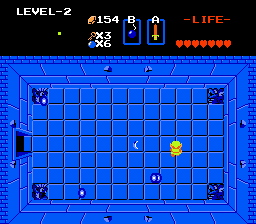 |
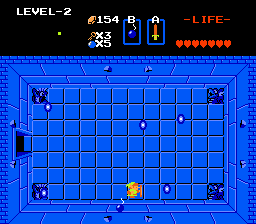 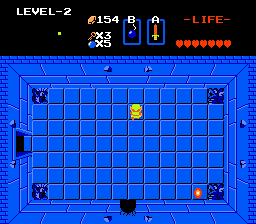 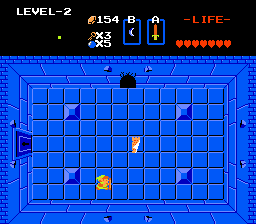 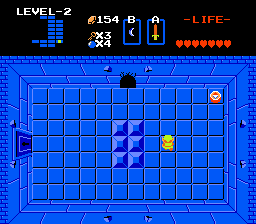 |
Now, don't run out of this room just yet. Go to the middle of the bottom wall, and drop a bomb on it. Kablooie, a hole is blown open in the wall! Many of the walls in the dungeons are destructible like this. Now scoot in through the hole before the statues' fire catches up to you. Phew, a nice relaxing room with goos. Slaughter 'em with your sword and boomerang, grab the map of the dungeon, and bomb the south wall like before. In there are more goos, wipe them out and then take the compass in the upper right corner. Now that we're all set here, go back the way you came, two screens Up and one screen to the Left. |
| Go Up one screen now, and you'll be in a room full of sand. There's two fireball worm things roaming around in here, but they aren't a challenge. Hack them to death with your sword and you'll be rewarded with another key. Go Up another screen and you'll be surrounded by more snakes. The doors above and below you will close but don't worry, vanquishing the enemies will open them again. | 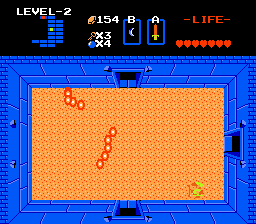 |
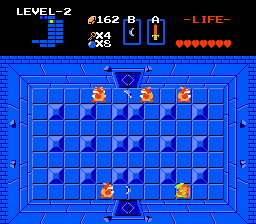 |
Go Up another screen. You'll be in a room with four red boomerangers. Take care of them, but don't grab the bombs given to you in the upper right corner just yet. Let's clear out the rest of the dungeon first. |
| Bomb the Right wall, and you will enter a room where an old man murmurs, "Dodongo Dislikes Smoke." Whatever could he mean? Go Down one screen, and after vanquishing the goos you get a measely five rupees. Now bomb the south wall, and after entering through the smoky hole you just made you'll be in a room with clashing spike traps and some bats. Don't get struck entering the room, and eliminate the bats quickly with your boomerang and sword. You get four bombs for your efforts. | 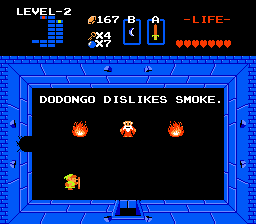 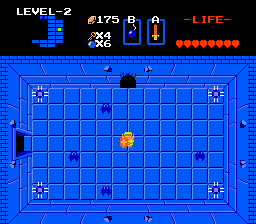 |
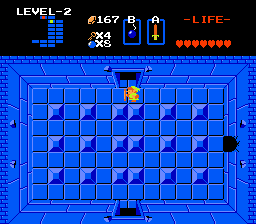 |
Go back the way you came (Up two screens and Left one). Scoop up the four bombs you left there, your total will now be at eight no matter how many you used earlier. Ahead lies the boss, when you are ready go Up one screen; don't bother using a potion if you have one because I don't expect us to get hit by the boss much. |
| Dodongo really isn't that hard, but you should notice that you can't hurt him with your sword at all. How do we hurt this armored triceratops then? Get near him, wait till he walks towards you, and drop a bomb. He will eat it, and swell up a good deal. After he swells get a little away from him to so he doesn't run right into you. Drop two bombs down his gullet! Easy, no? Yoink his still pulsing Heart Container and head Left one screen. | 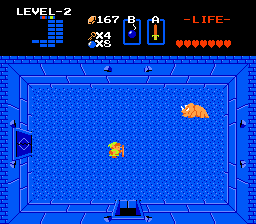 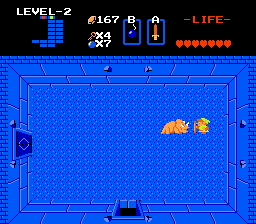 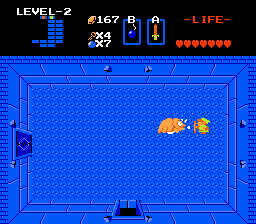 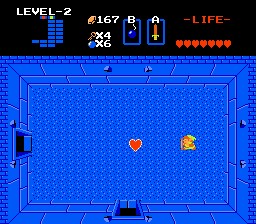 |
 |
Yay, another |